Free Cornell Box
Cornell Box Deliveries
As of March 2024, all the 2022 conference gift Cornell boxes should have been sent out, sometimes more than once. There were a number of people whom we tried to reach with several emails to confirm a shipping address and we were unable to contact; Andrew still has a small number of boxes left, in part to cover any damaged in transit (spares are likely to be sent to Cornell soon), so please reach out if you think you’re due one and there’s been no sign. Some have taken quite a long time to be bounced by customs or local postal services, so Andrew would be grateful to hear that they’ve arrived safely — or please let him know if they’ve arrived unsafely.
Note that there are some instructions on how to assemble your box below.
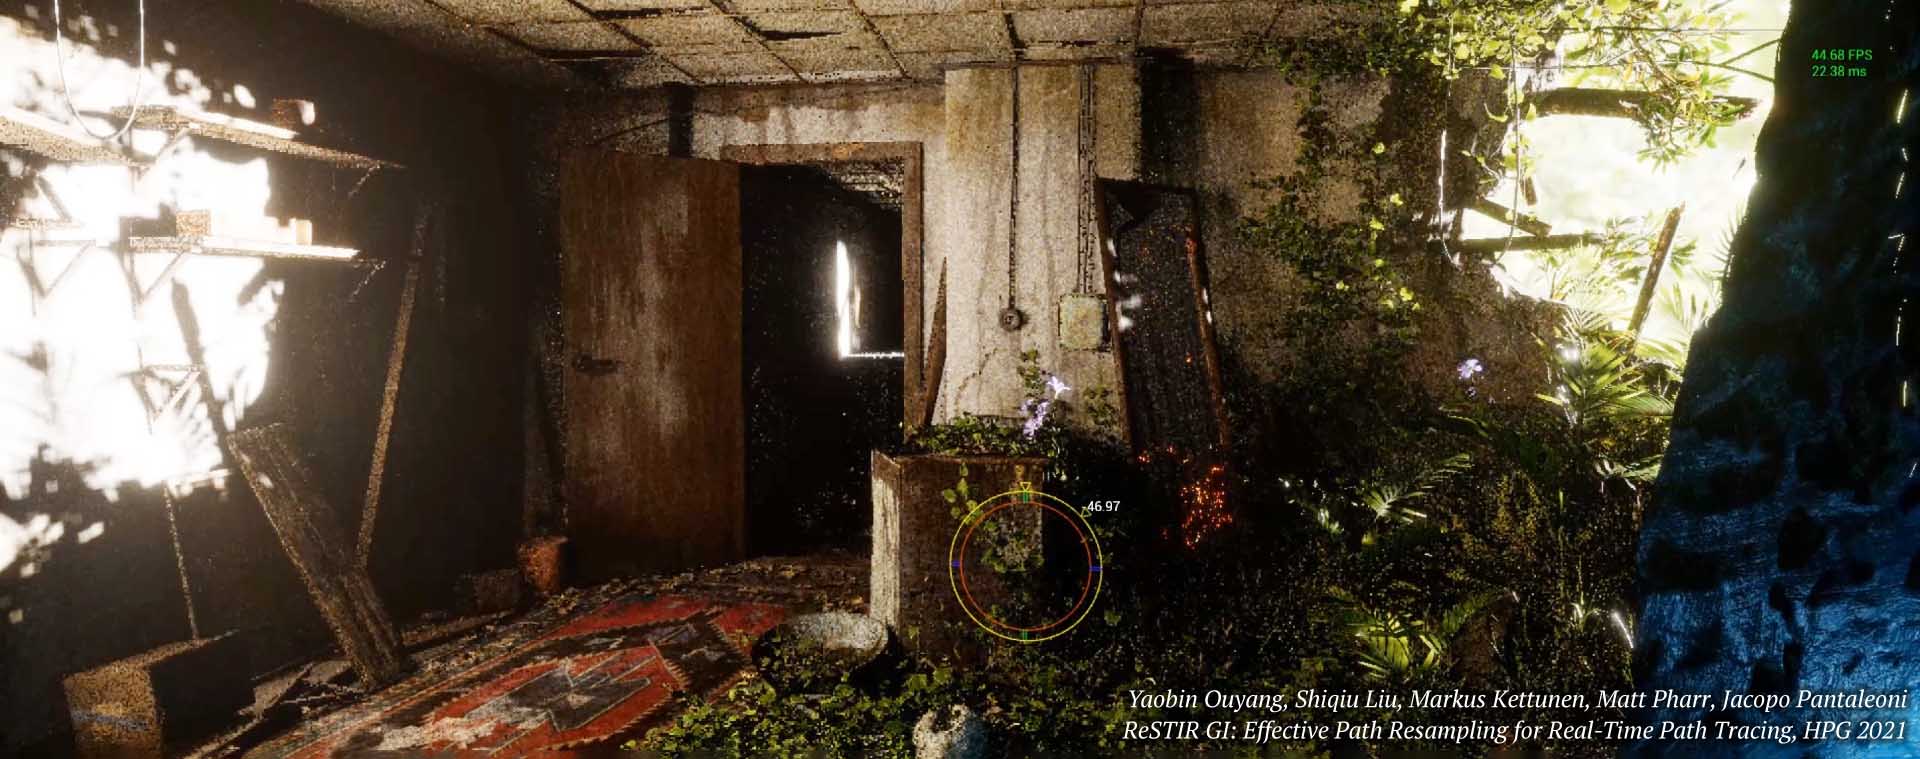
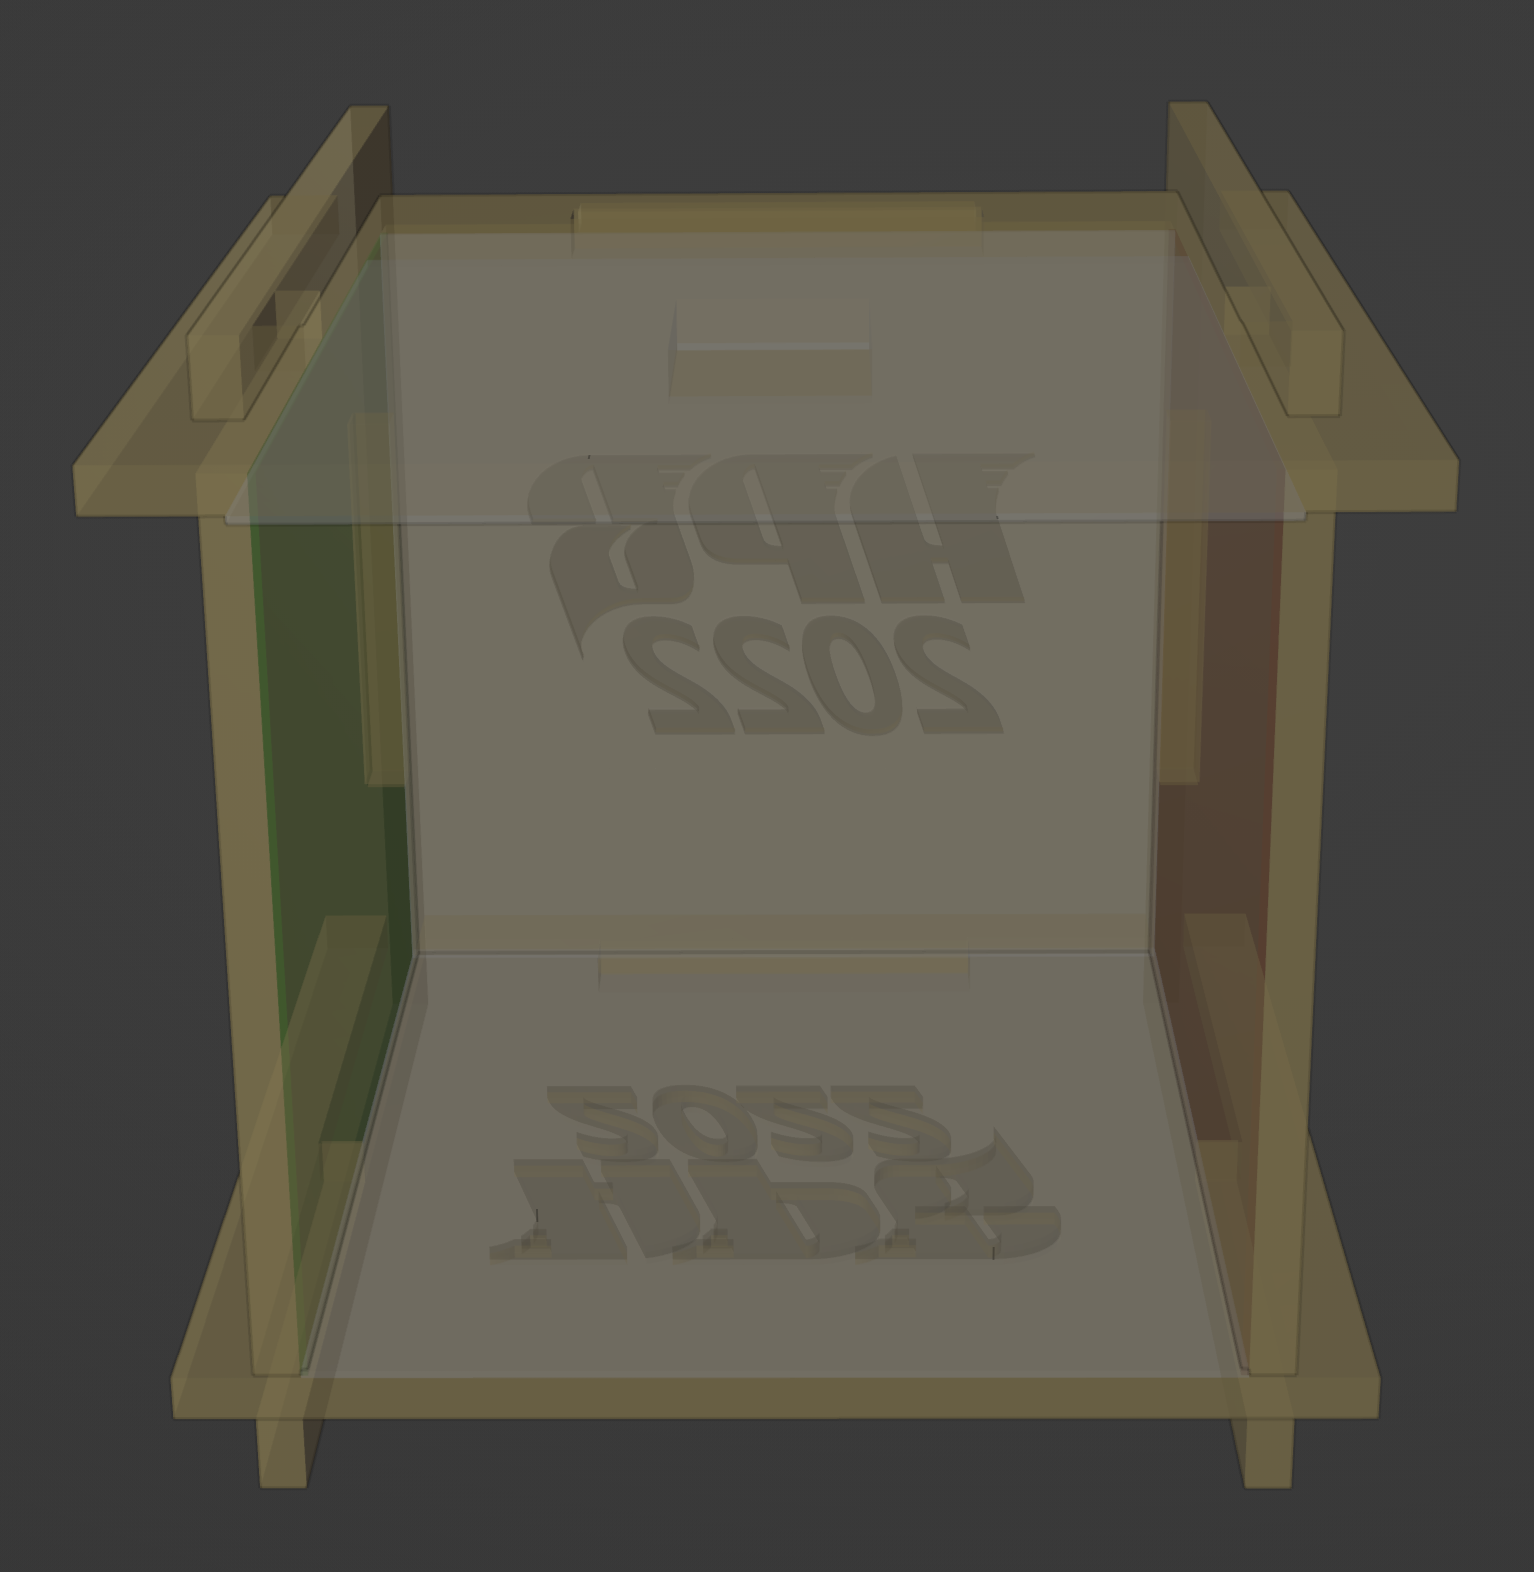
Premium registrants at HPG 2022 could receive a free physical Cornell Box. Many graphics professionals will be aware of the Cornell Box as a test case for global illumination and light transport solutions. The basic box consists of two colored walls, a white back wall, ceiling and floor, and a white area light source in the ceiling (the light bounces off the walls and illuminates parts of the box and anything inside, and the coloring makes it easier to identify the light path); it looks like this:
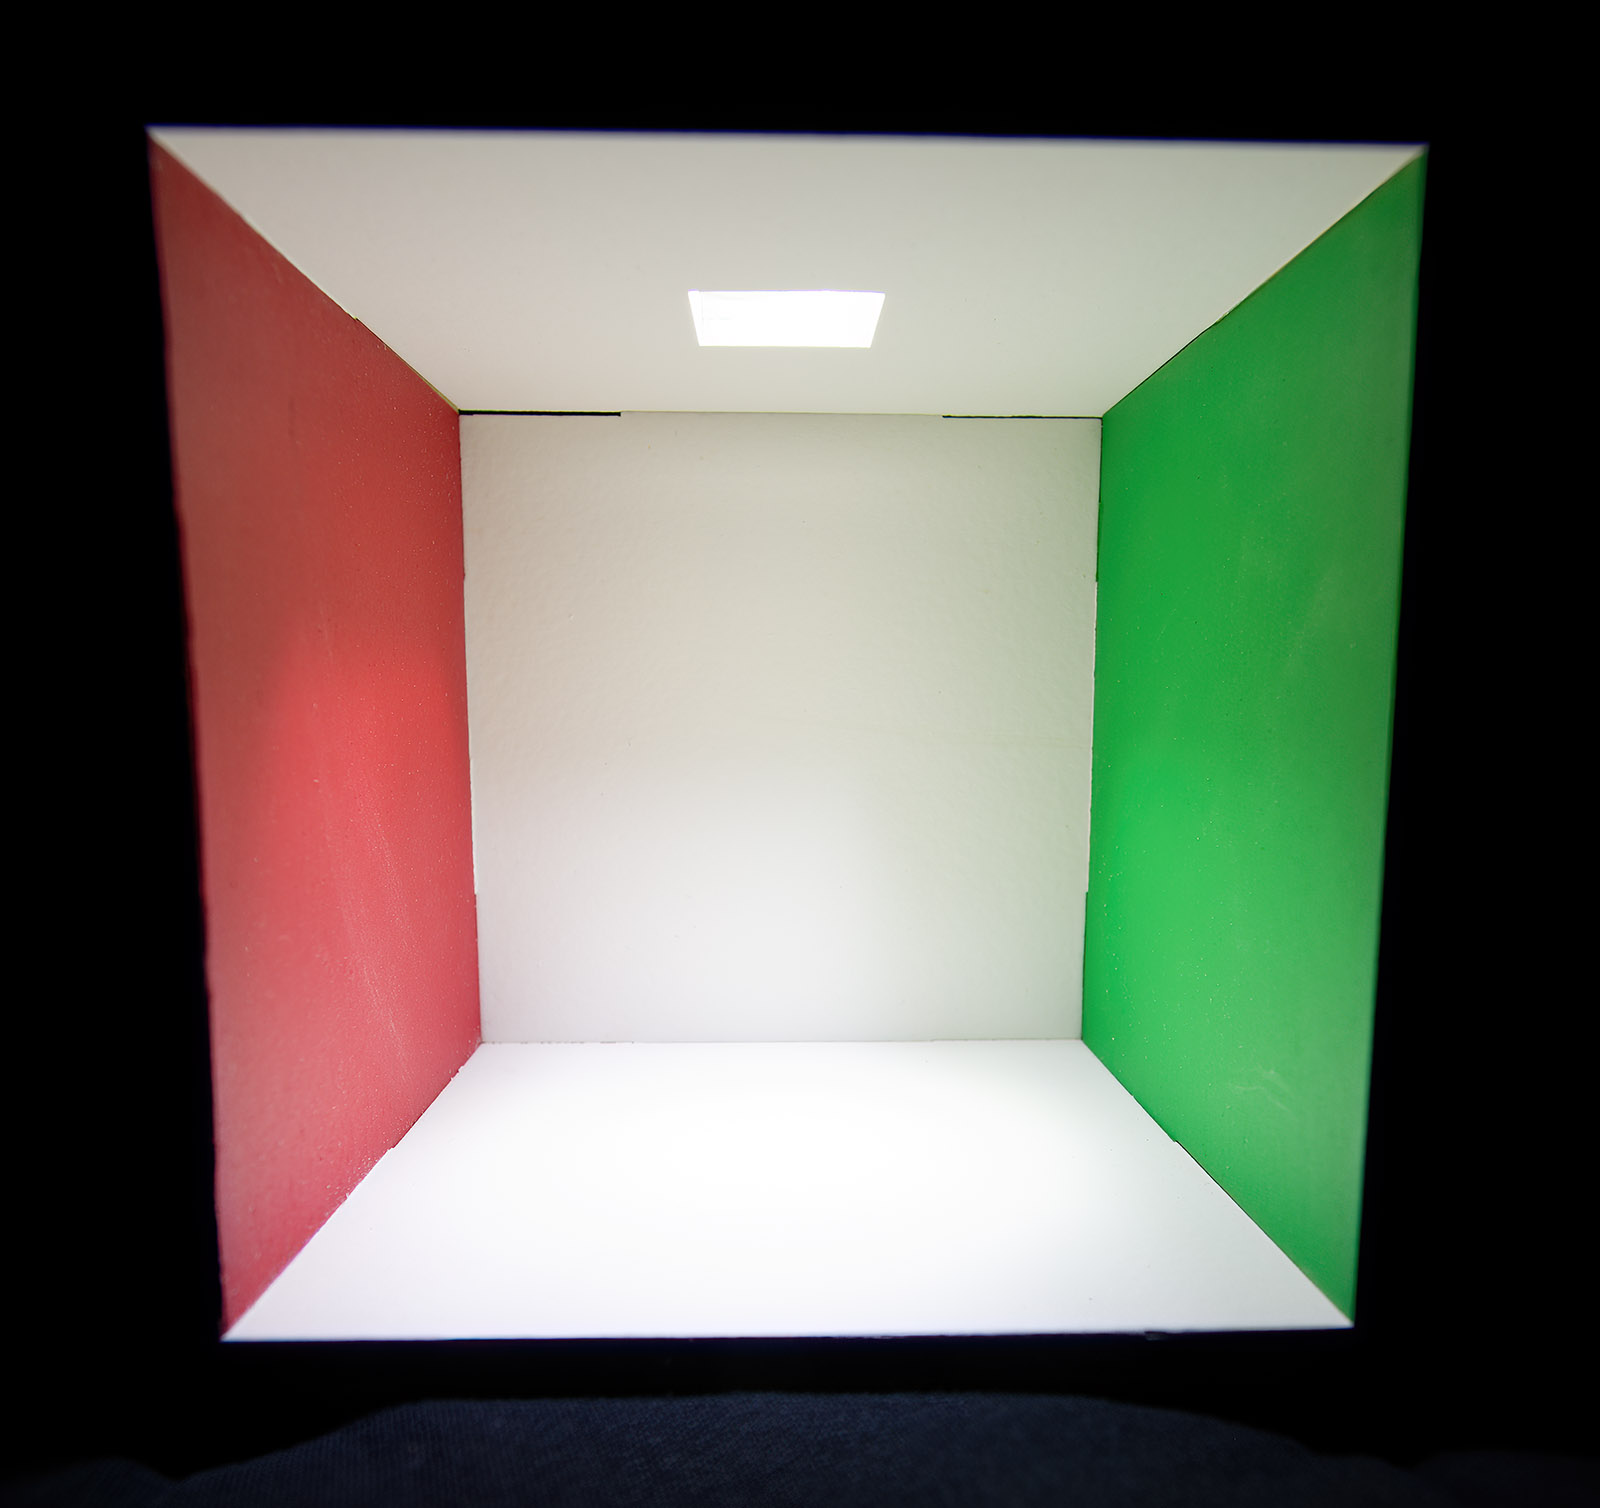
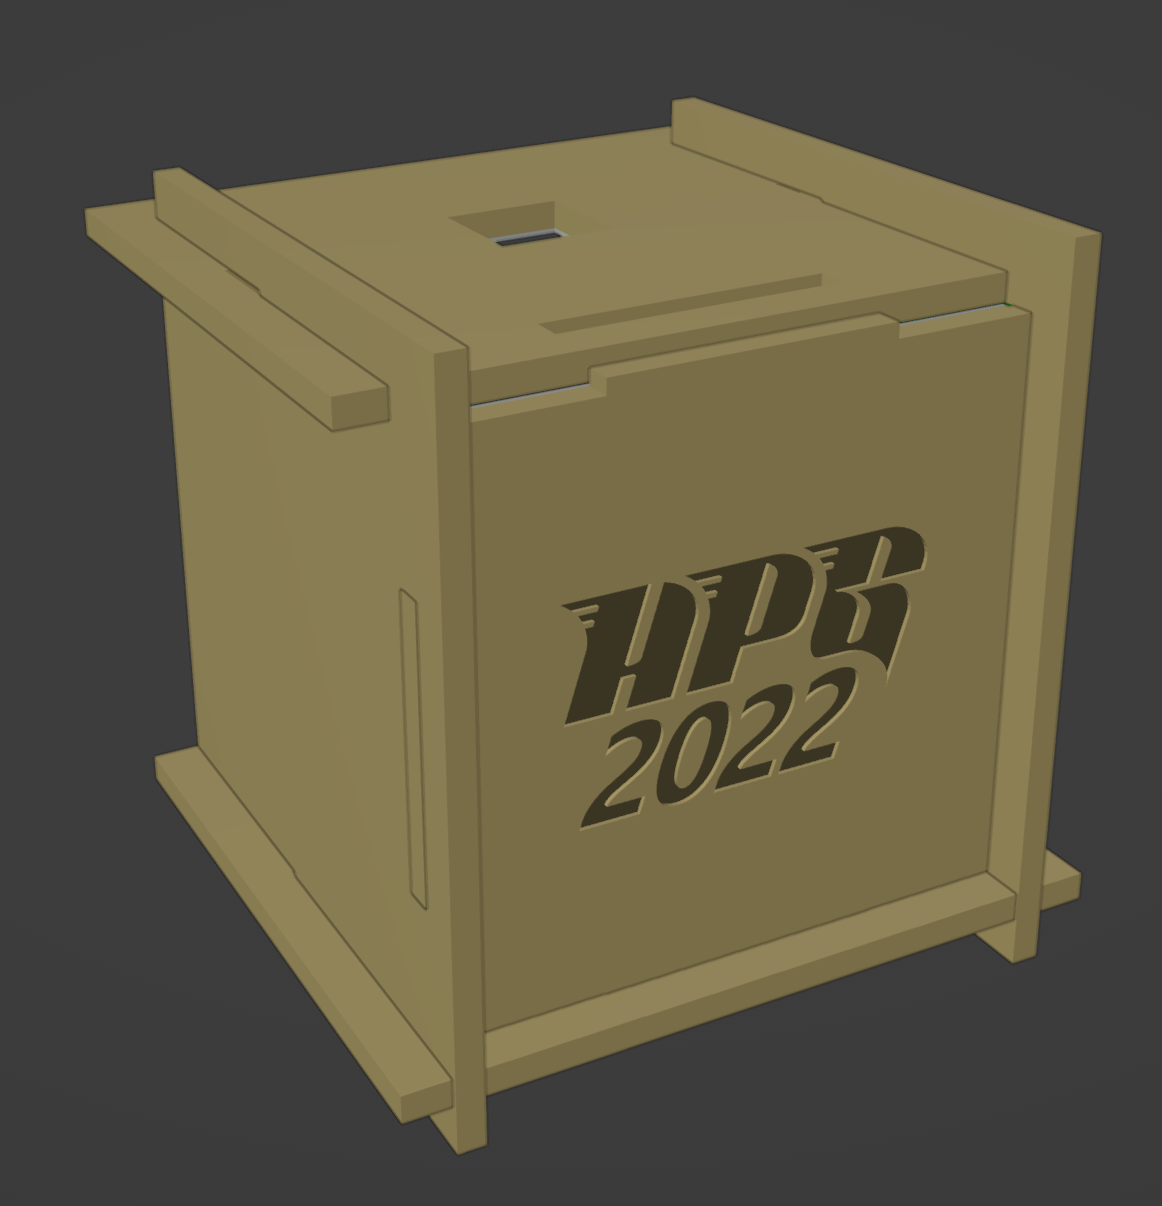
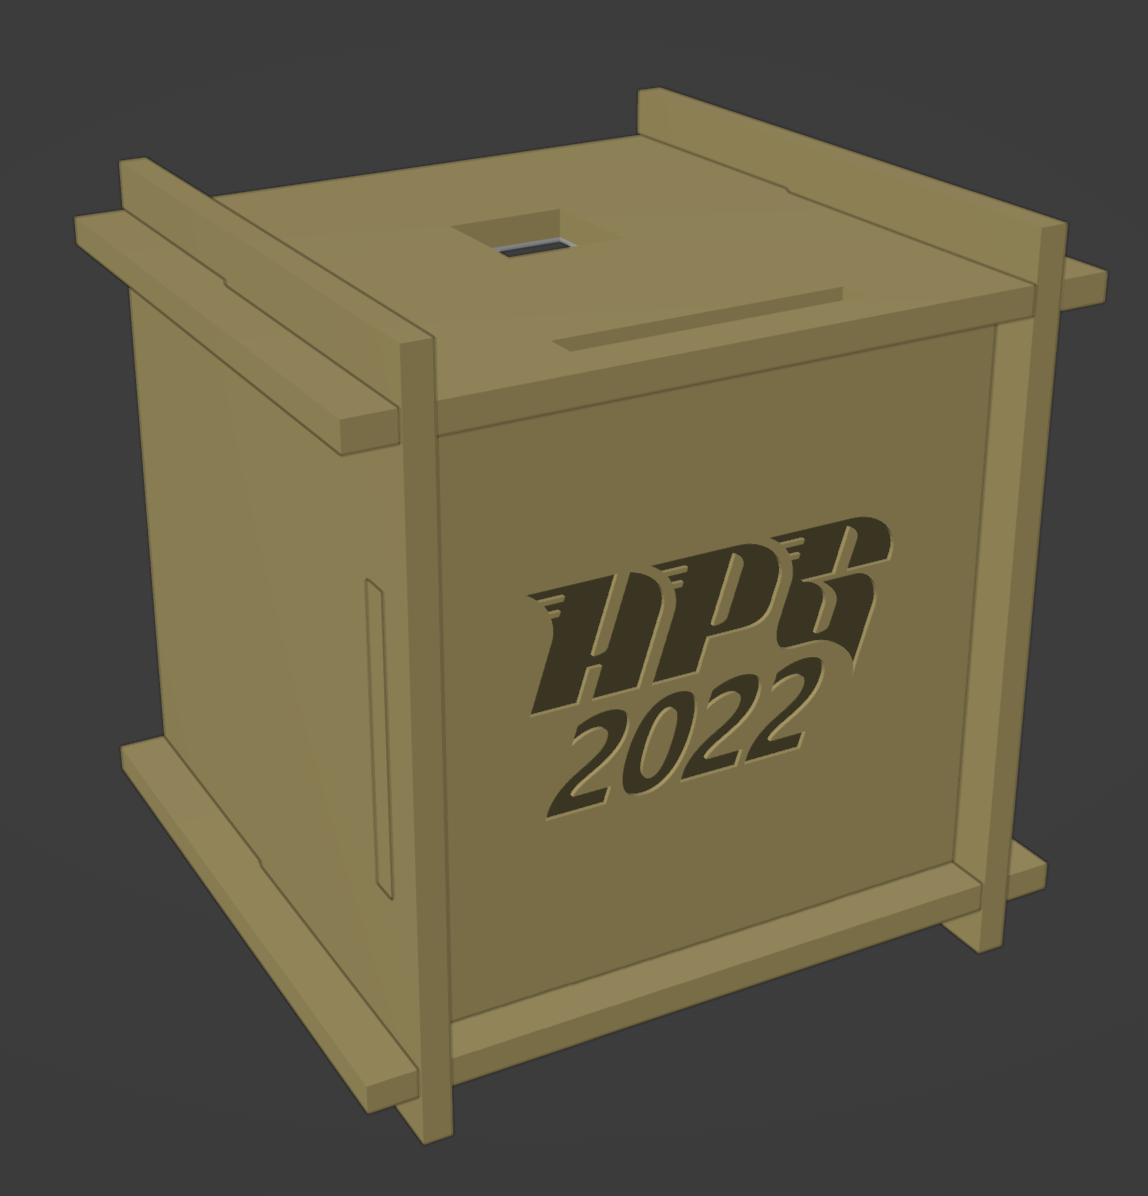
Obviously any HPG attendee is capable of rendering a Cornell Box on a computer, so we need proof that this is a physical object:
This is professionally laser-cut maple plywood, hand (spray-)painted by an idiot who’s only just worked out how to operate a spray gun. Final versions should be a little tidier than the prototype shown here, now I’m less optimistic about how much masking is necessary.
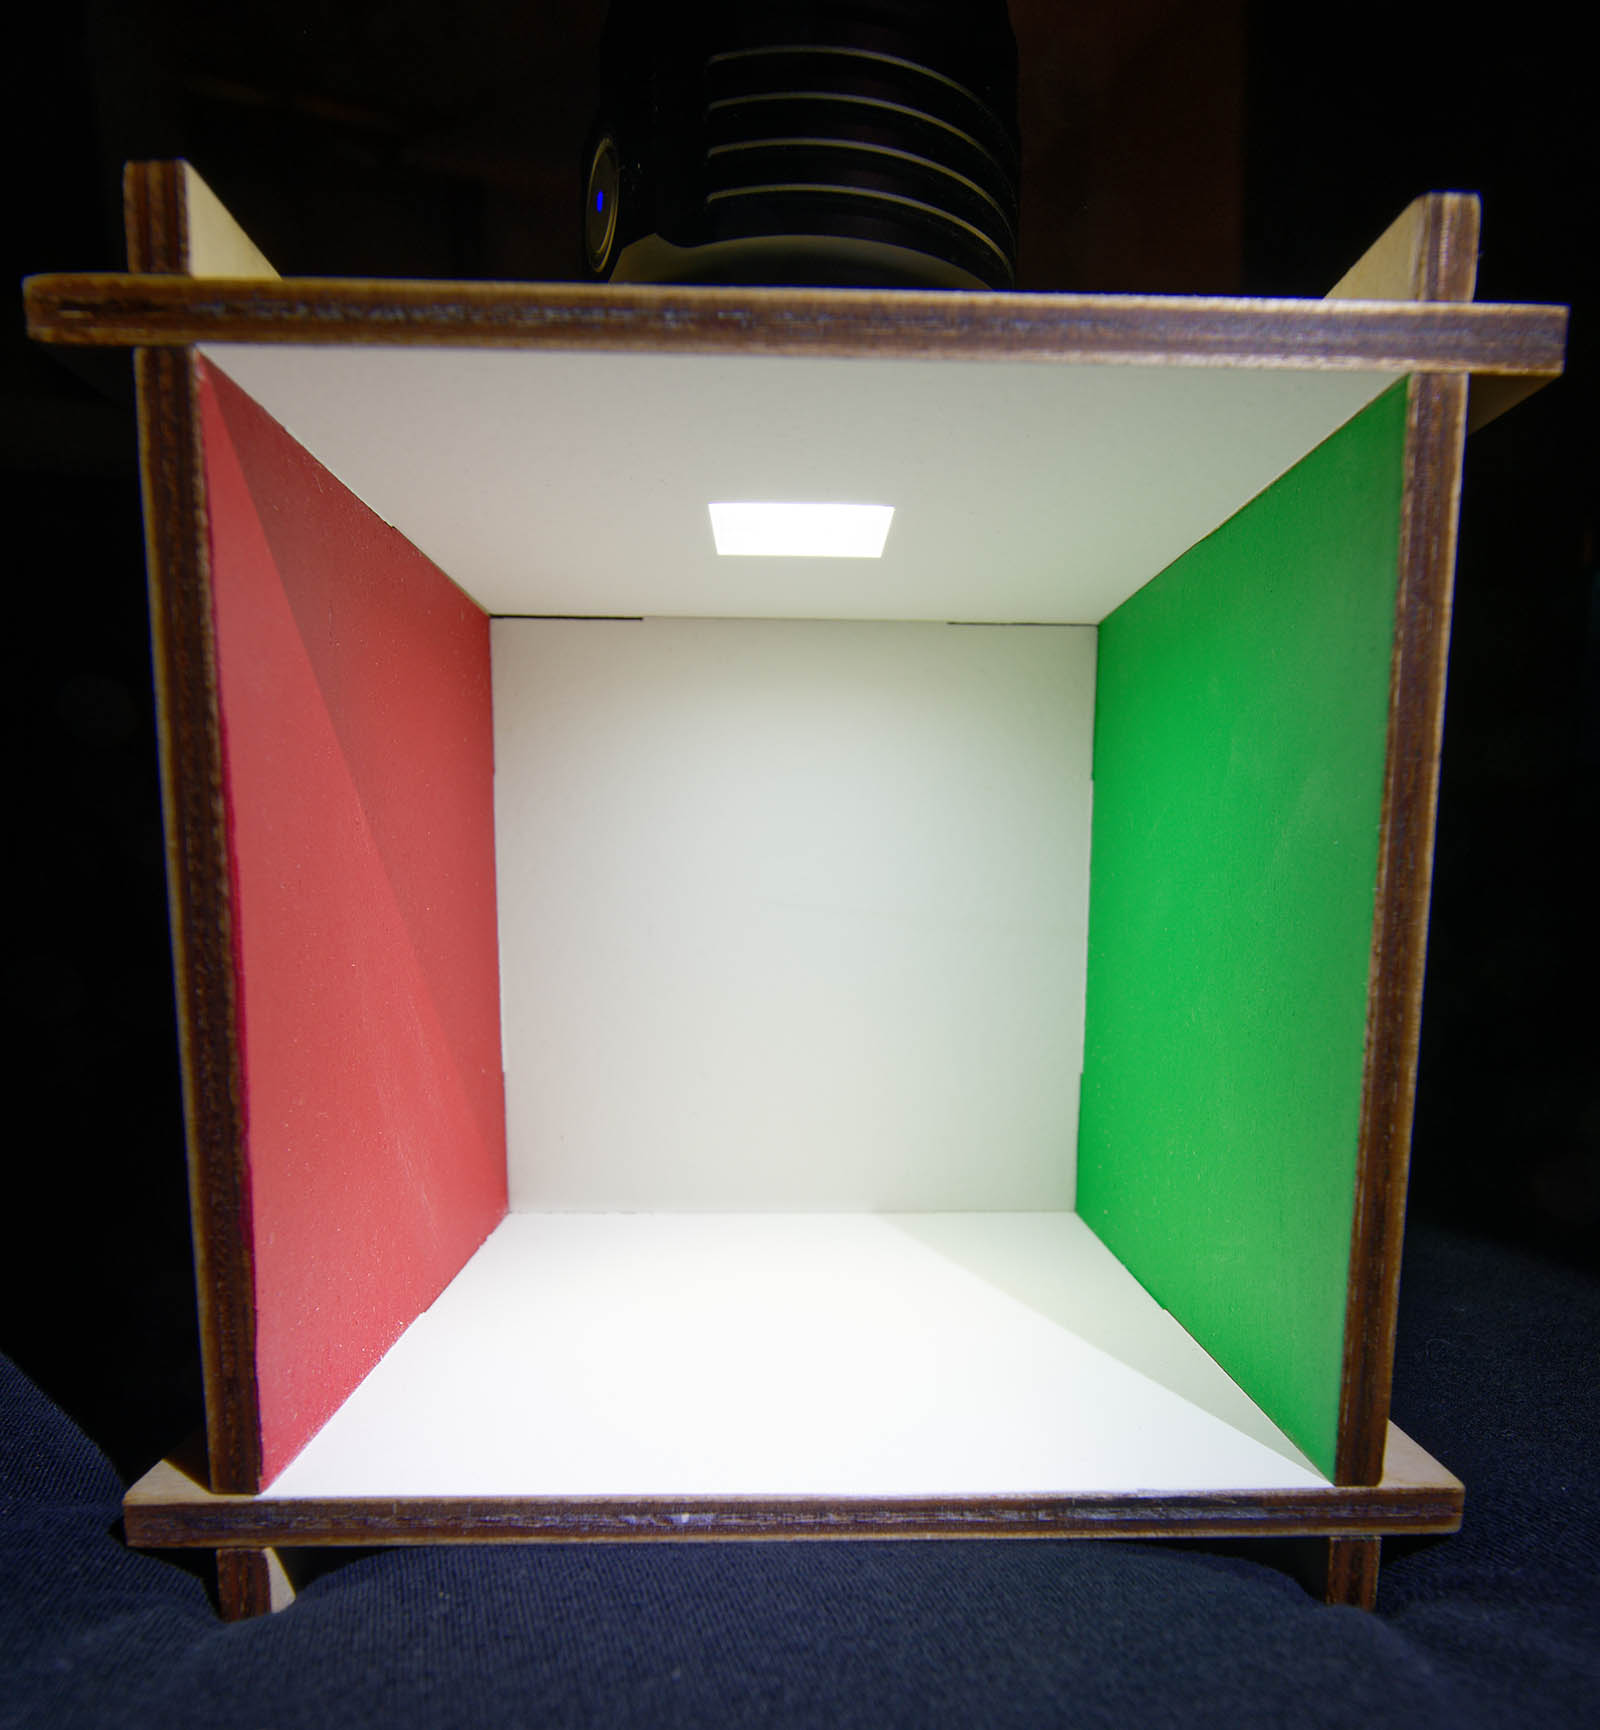
The box provided merely comes with a hole as a ceiling light. One reason for this is that the ideal diffuser likely depends on the brightness and size of your light source, so we didn’t want to waste resources providing something inappropriate. Tissue or grease-proof paper would likely work well, and for brighter lights you might find a plastic end-stop for tubular furniture would work, and lock into place. These examples use a translucent camera body cap under a large flashlight. We’ll come back to the other reason not to have a fitted diffuser below.
Note that it’s quite hard to avoid light entering the front of the box from introducing shadows; fortunately in my experience asking computer scientists to sit in a dark room has not been a major problem.
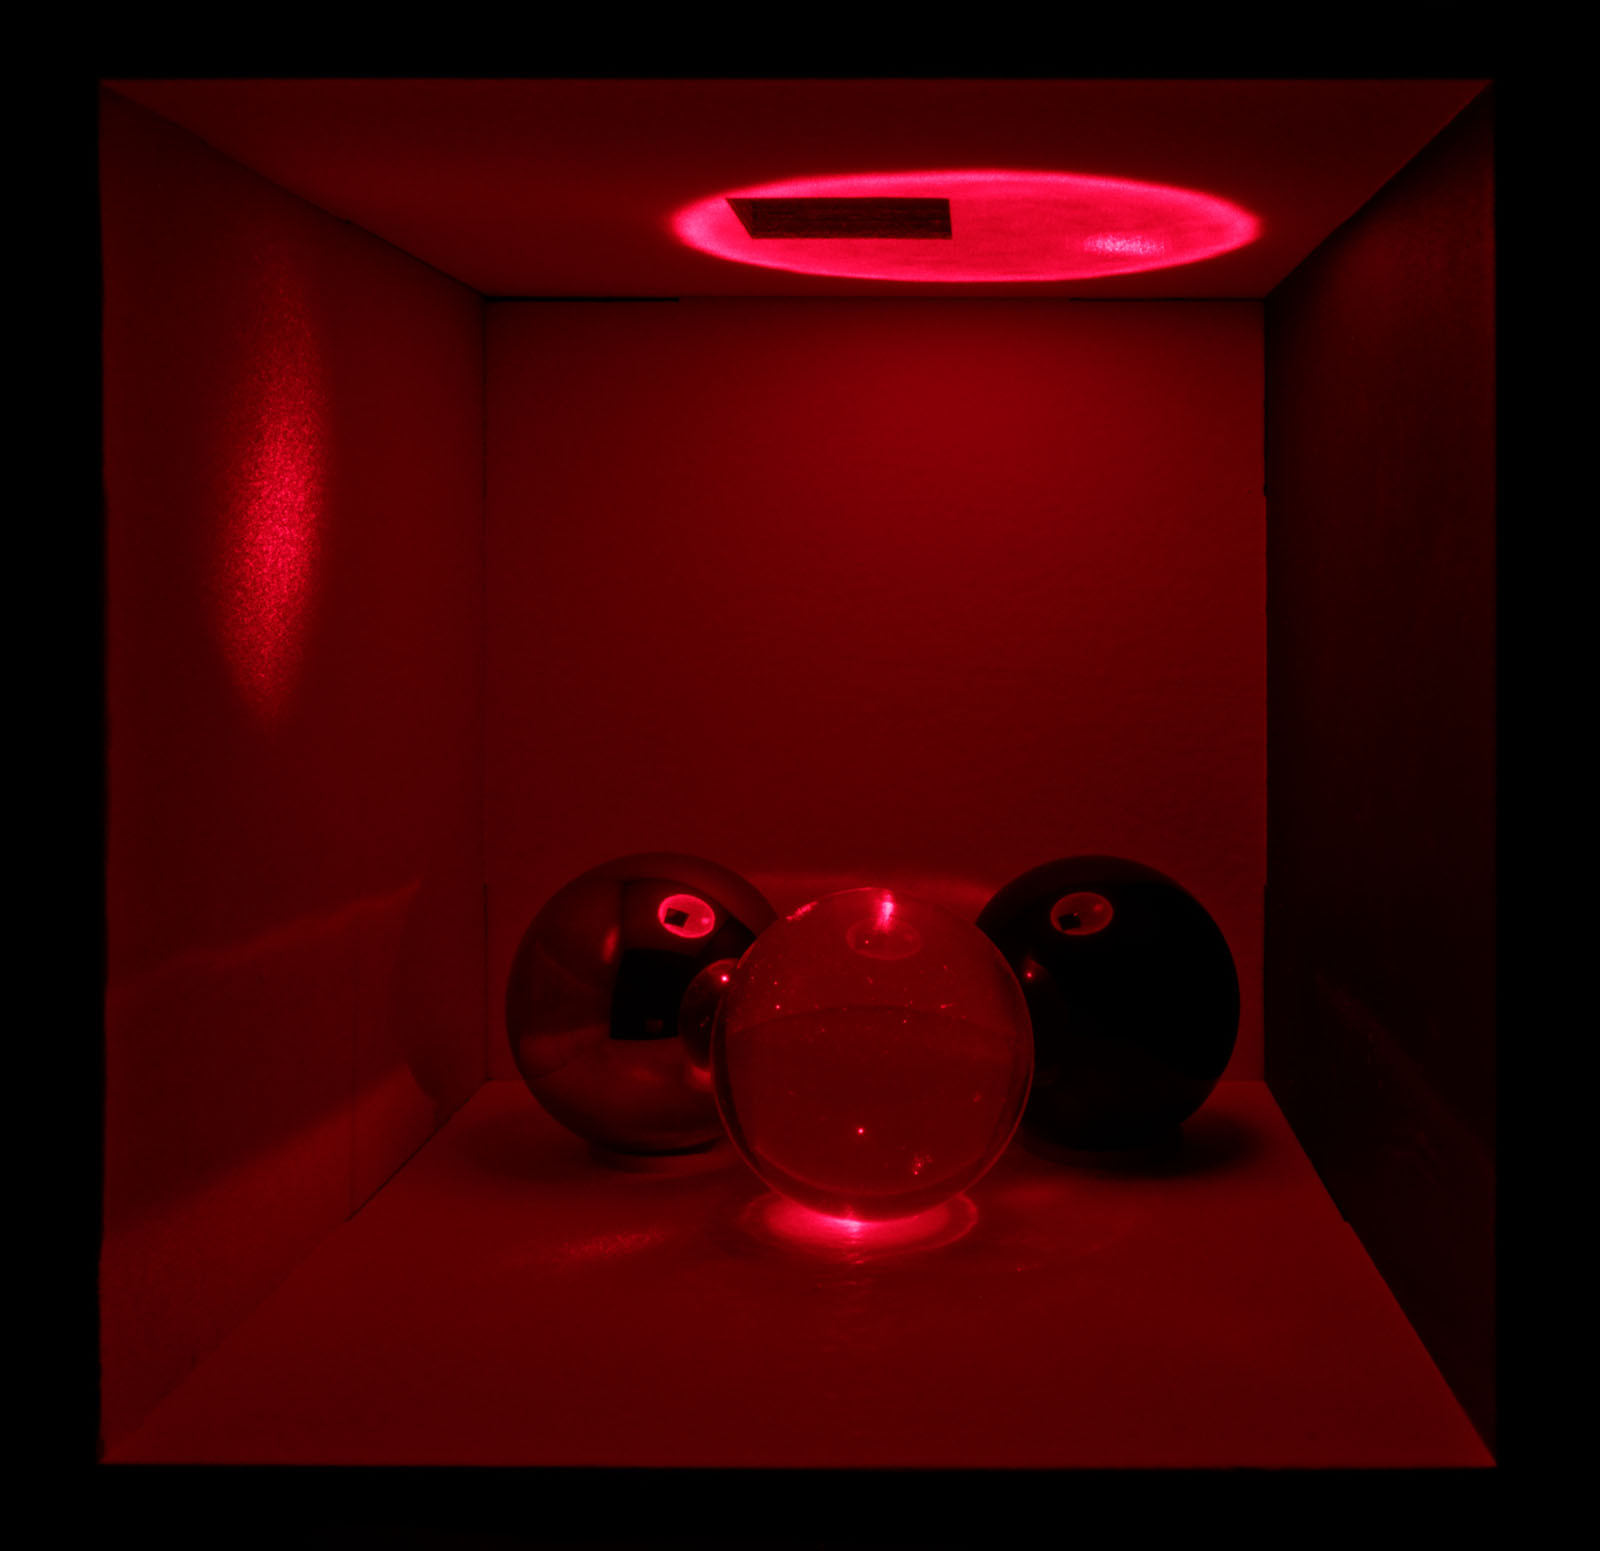
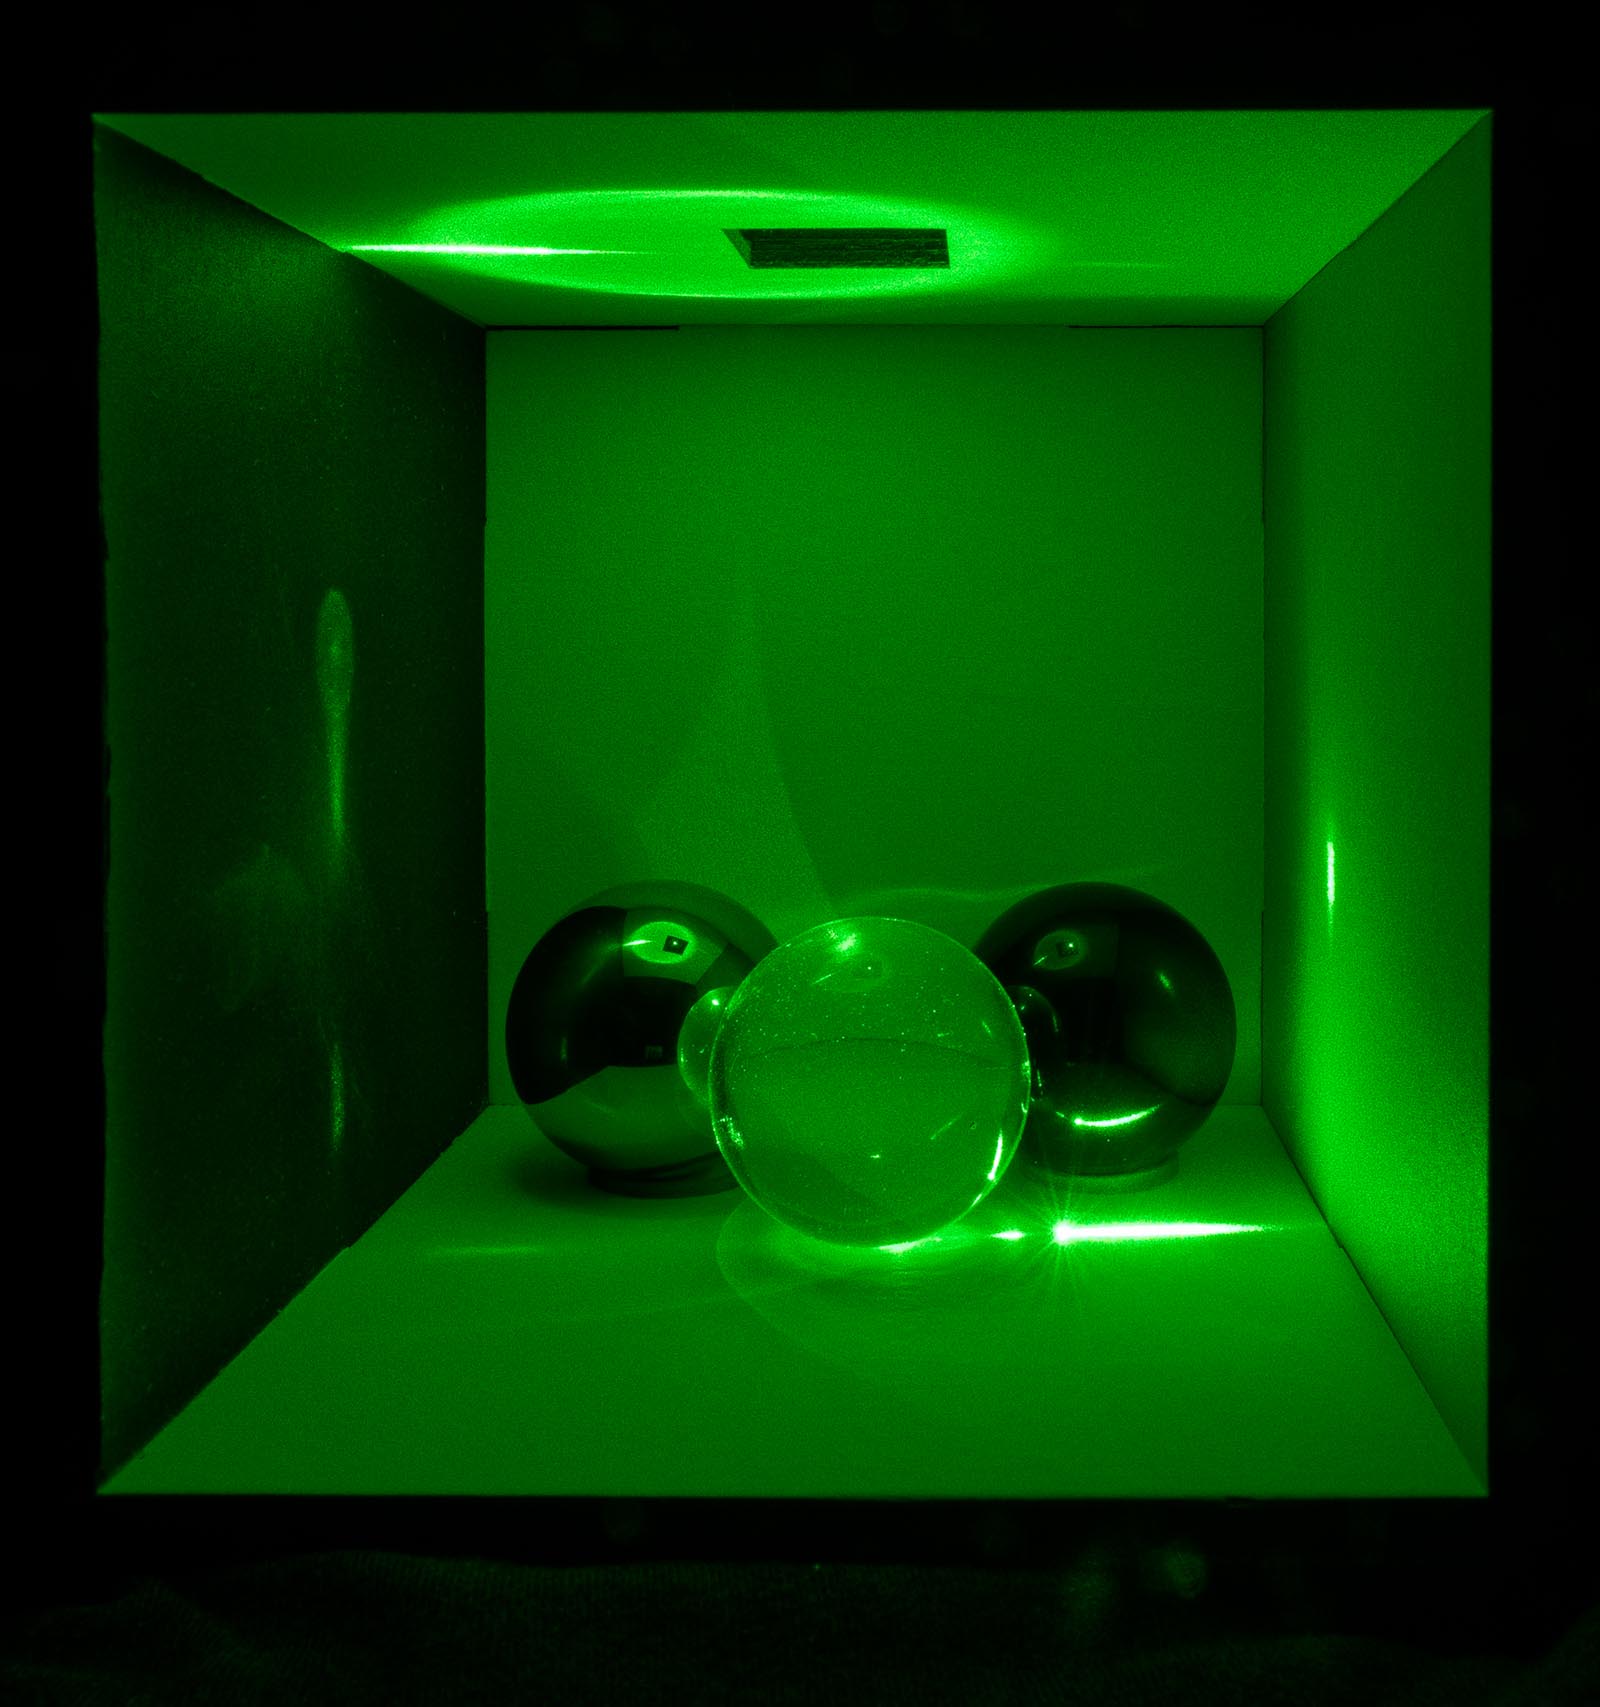
A Cornell Box traditionally has a number of objects with interesting material properties placed inside. That serves the dual purpose of being useful as a reference for rendering algorithms and making the box into a passable shelf ornament (although it does make it tricky to move):
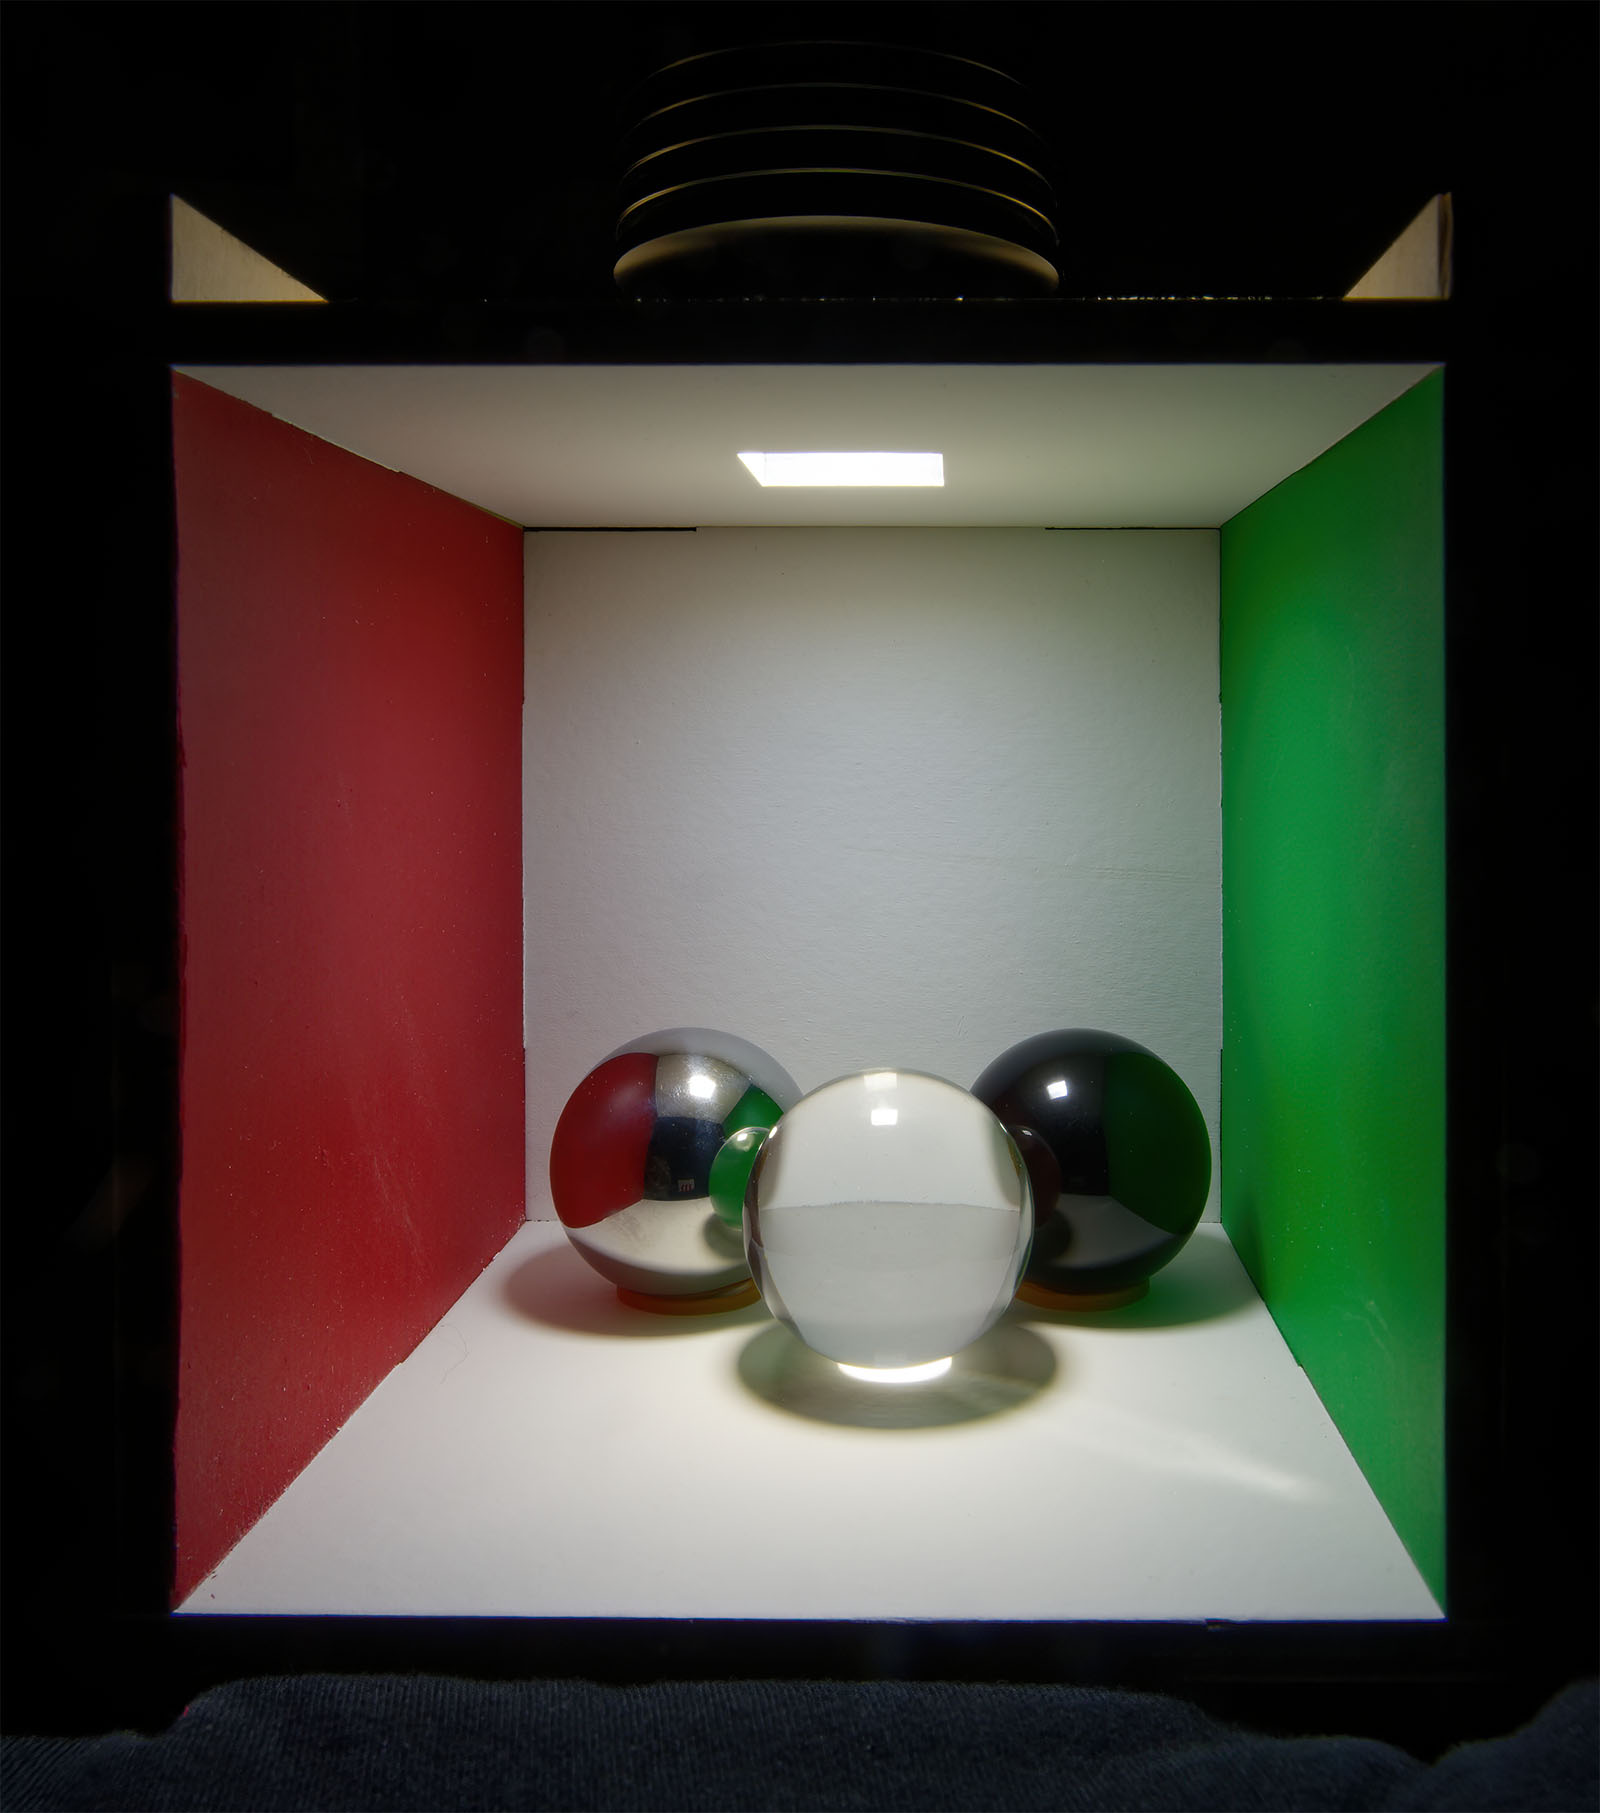
These are 40mm spheres — glass, obsidian and steel. The steel one is a ball bearing (ineffectually polished). The glass ball is sold as a “birthday gift” or “home decor” (you might like to find a supplier who doesn’t send one through the post without any padding if you’d like to avoid scratches). The obsidian one is sold as being “for fengshui, crystal healing and divination”. This will no doubt result in some annoying Amazon recommendations; you’re welcome.
Pro tip: small rubber bands are useful to stopping spheres rolling around on a flat surface. (The base is designed so that it should sag towards the back, rather than sagging to the front and tipping things out, but I wouldn’t rely on this.) A more pro pro might have sourced white rubber bands.
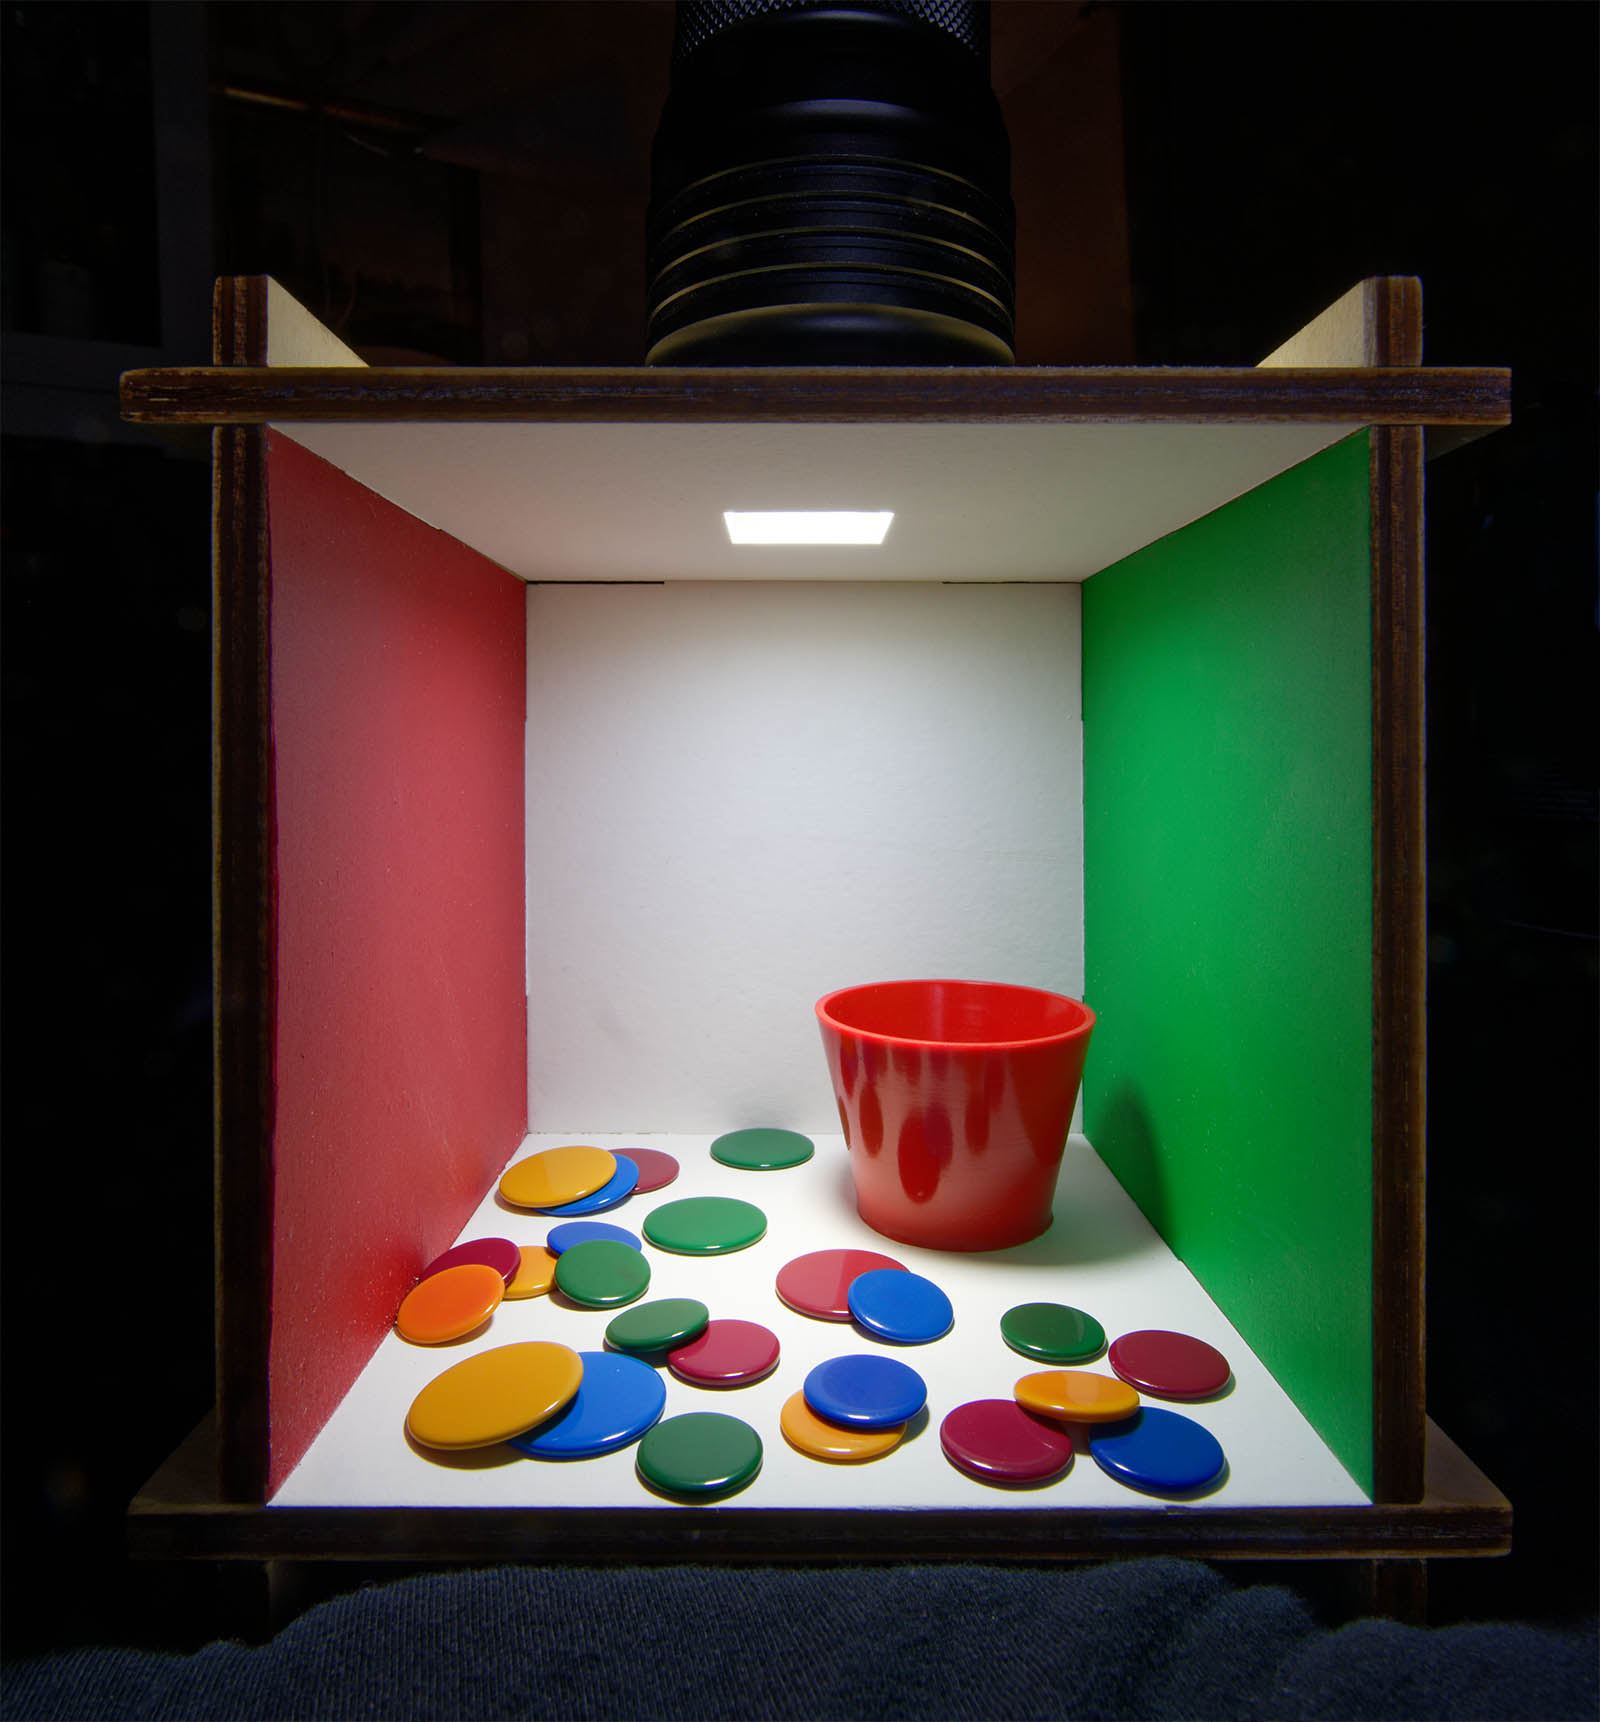
One might reasonably decide that this is a bit decorative, and that if your interests are more sporting, this might make for a presentation/storage box:

If it’s not obvious, that’s a golf ball, a squash ball and a (faux) table-tennis ball. Please note: these are not my sports, but they do offer some interesting BRDFs — and the box size was chosen specifically to accommodate them (you might get one tennis ball in there, but apologies if you’re into kicking a bladder).
One might be more of the persuasion that one’s leisure activities are based around (mostly) Platonic solids with helpfully numbered faces — obviously useful when visualising transformations and projections:
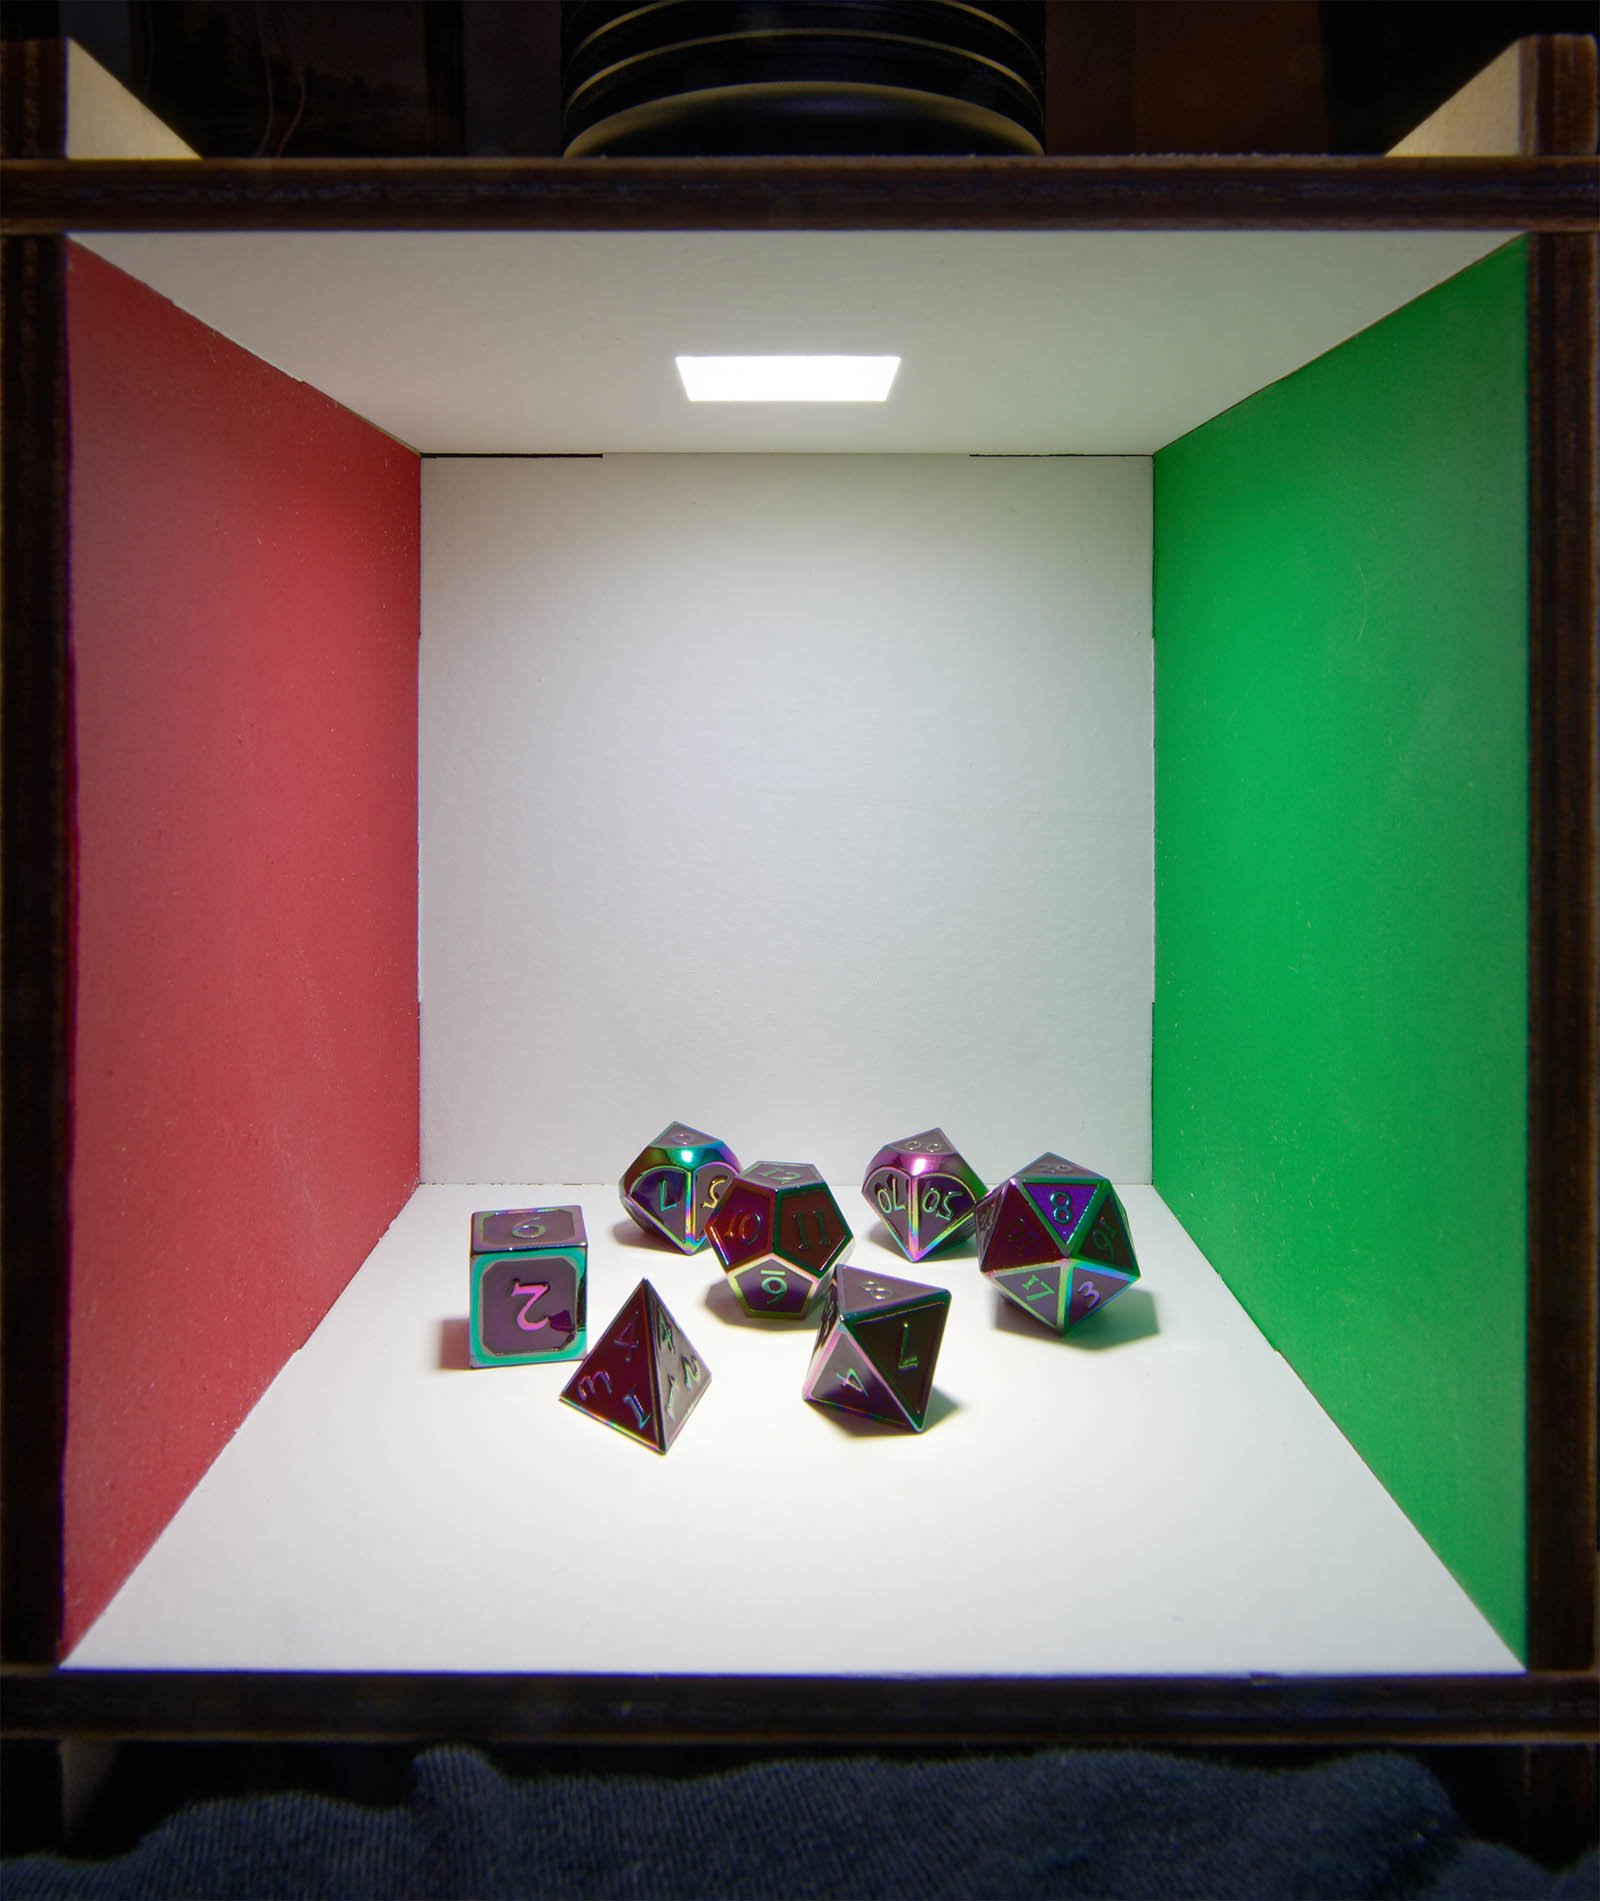
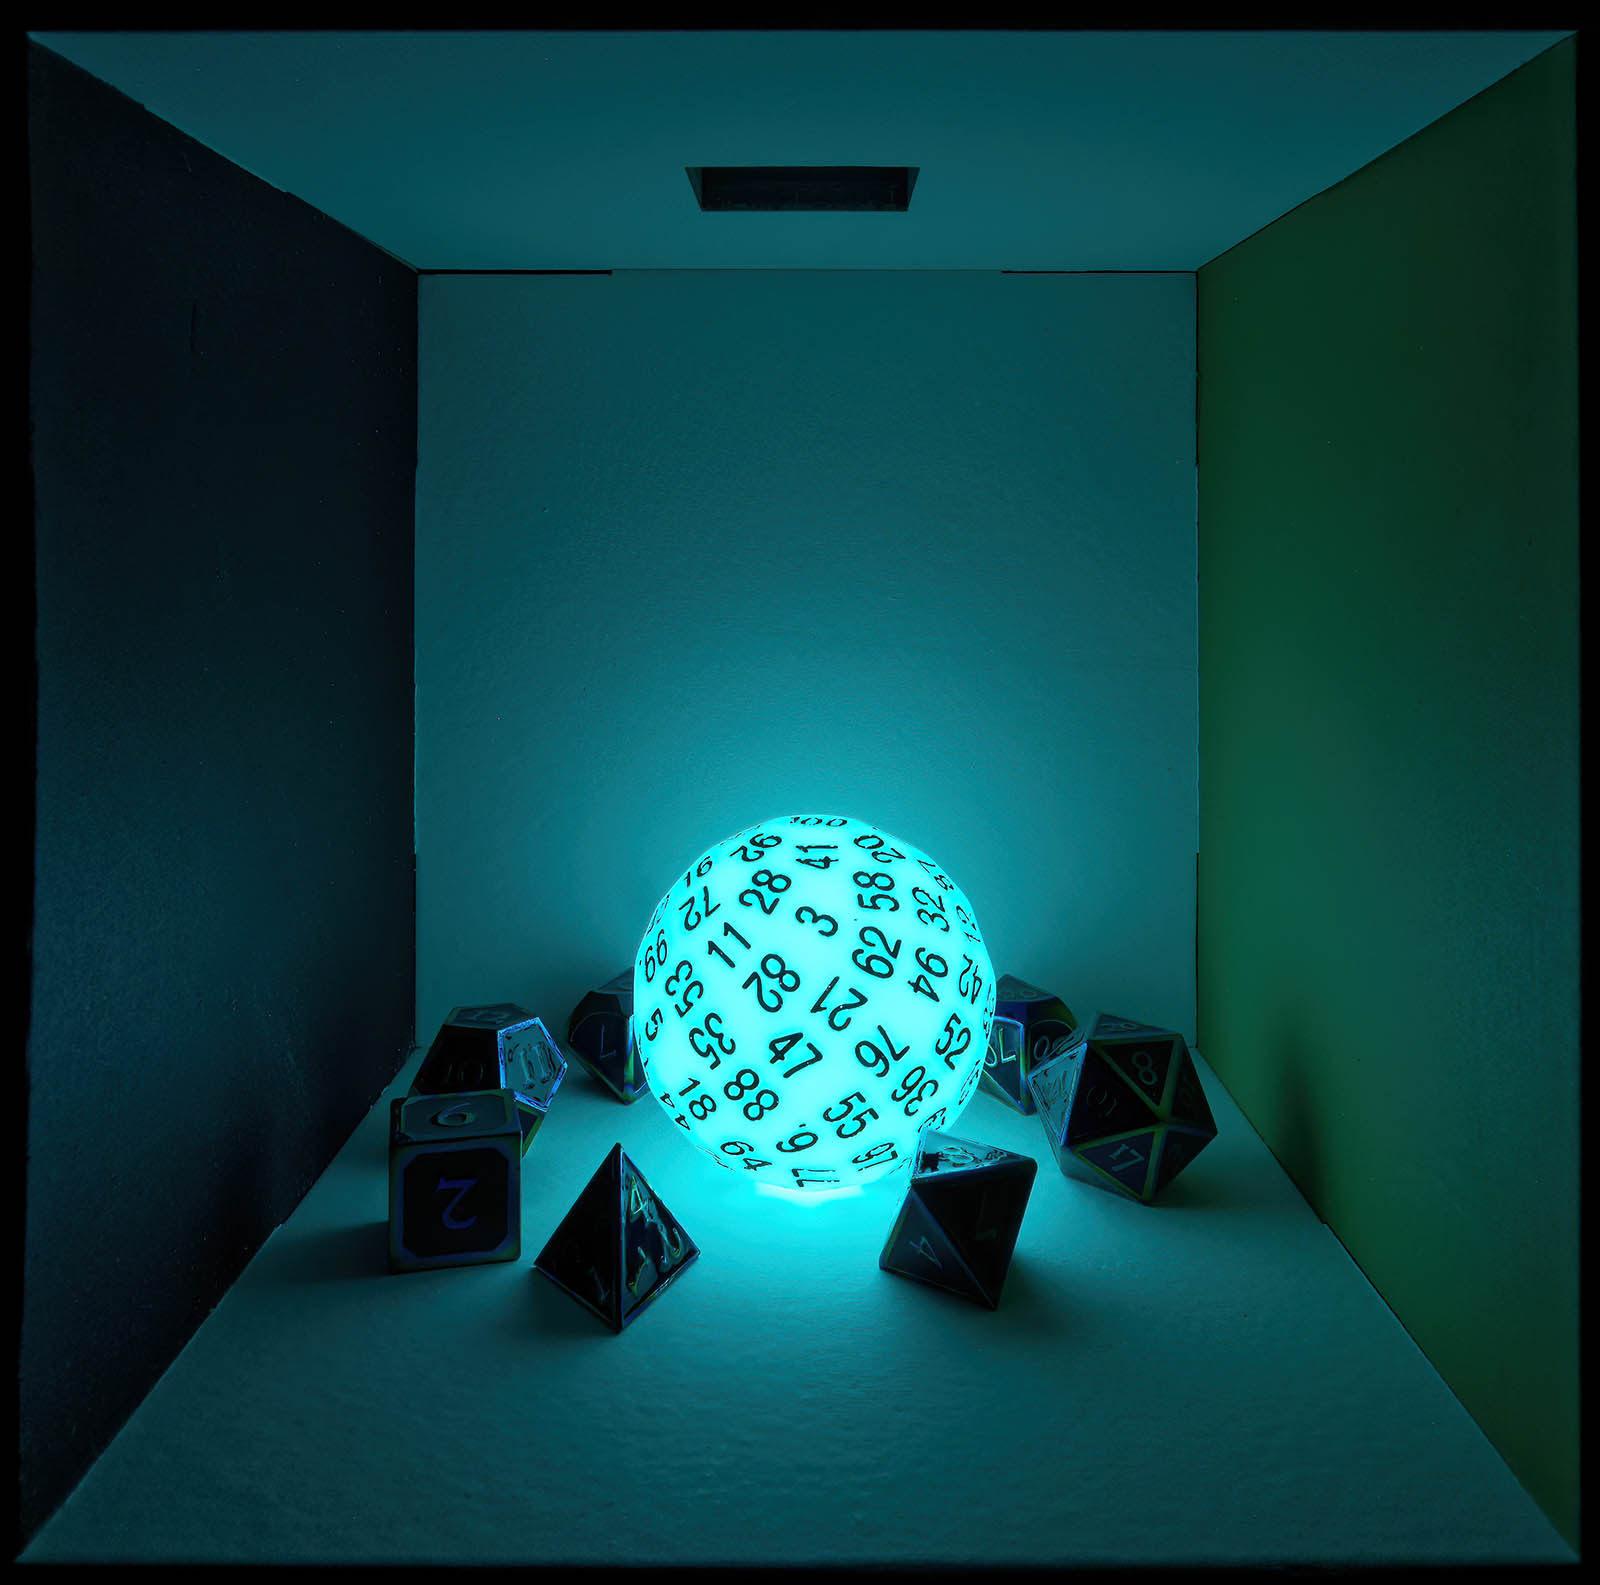
For the collector, that option has the advantage that one can also find area light emitters to place in the scene:
Of course, other sports are available, and I would be remiss were I not to squeeze in that, at the time of writing, I’m the world number 5 at tiddlywinks (and I swear the most recent tournament is entirely coincidental!)
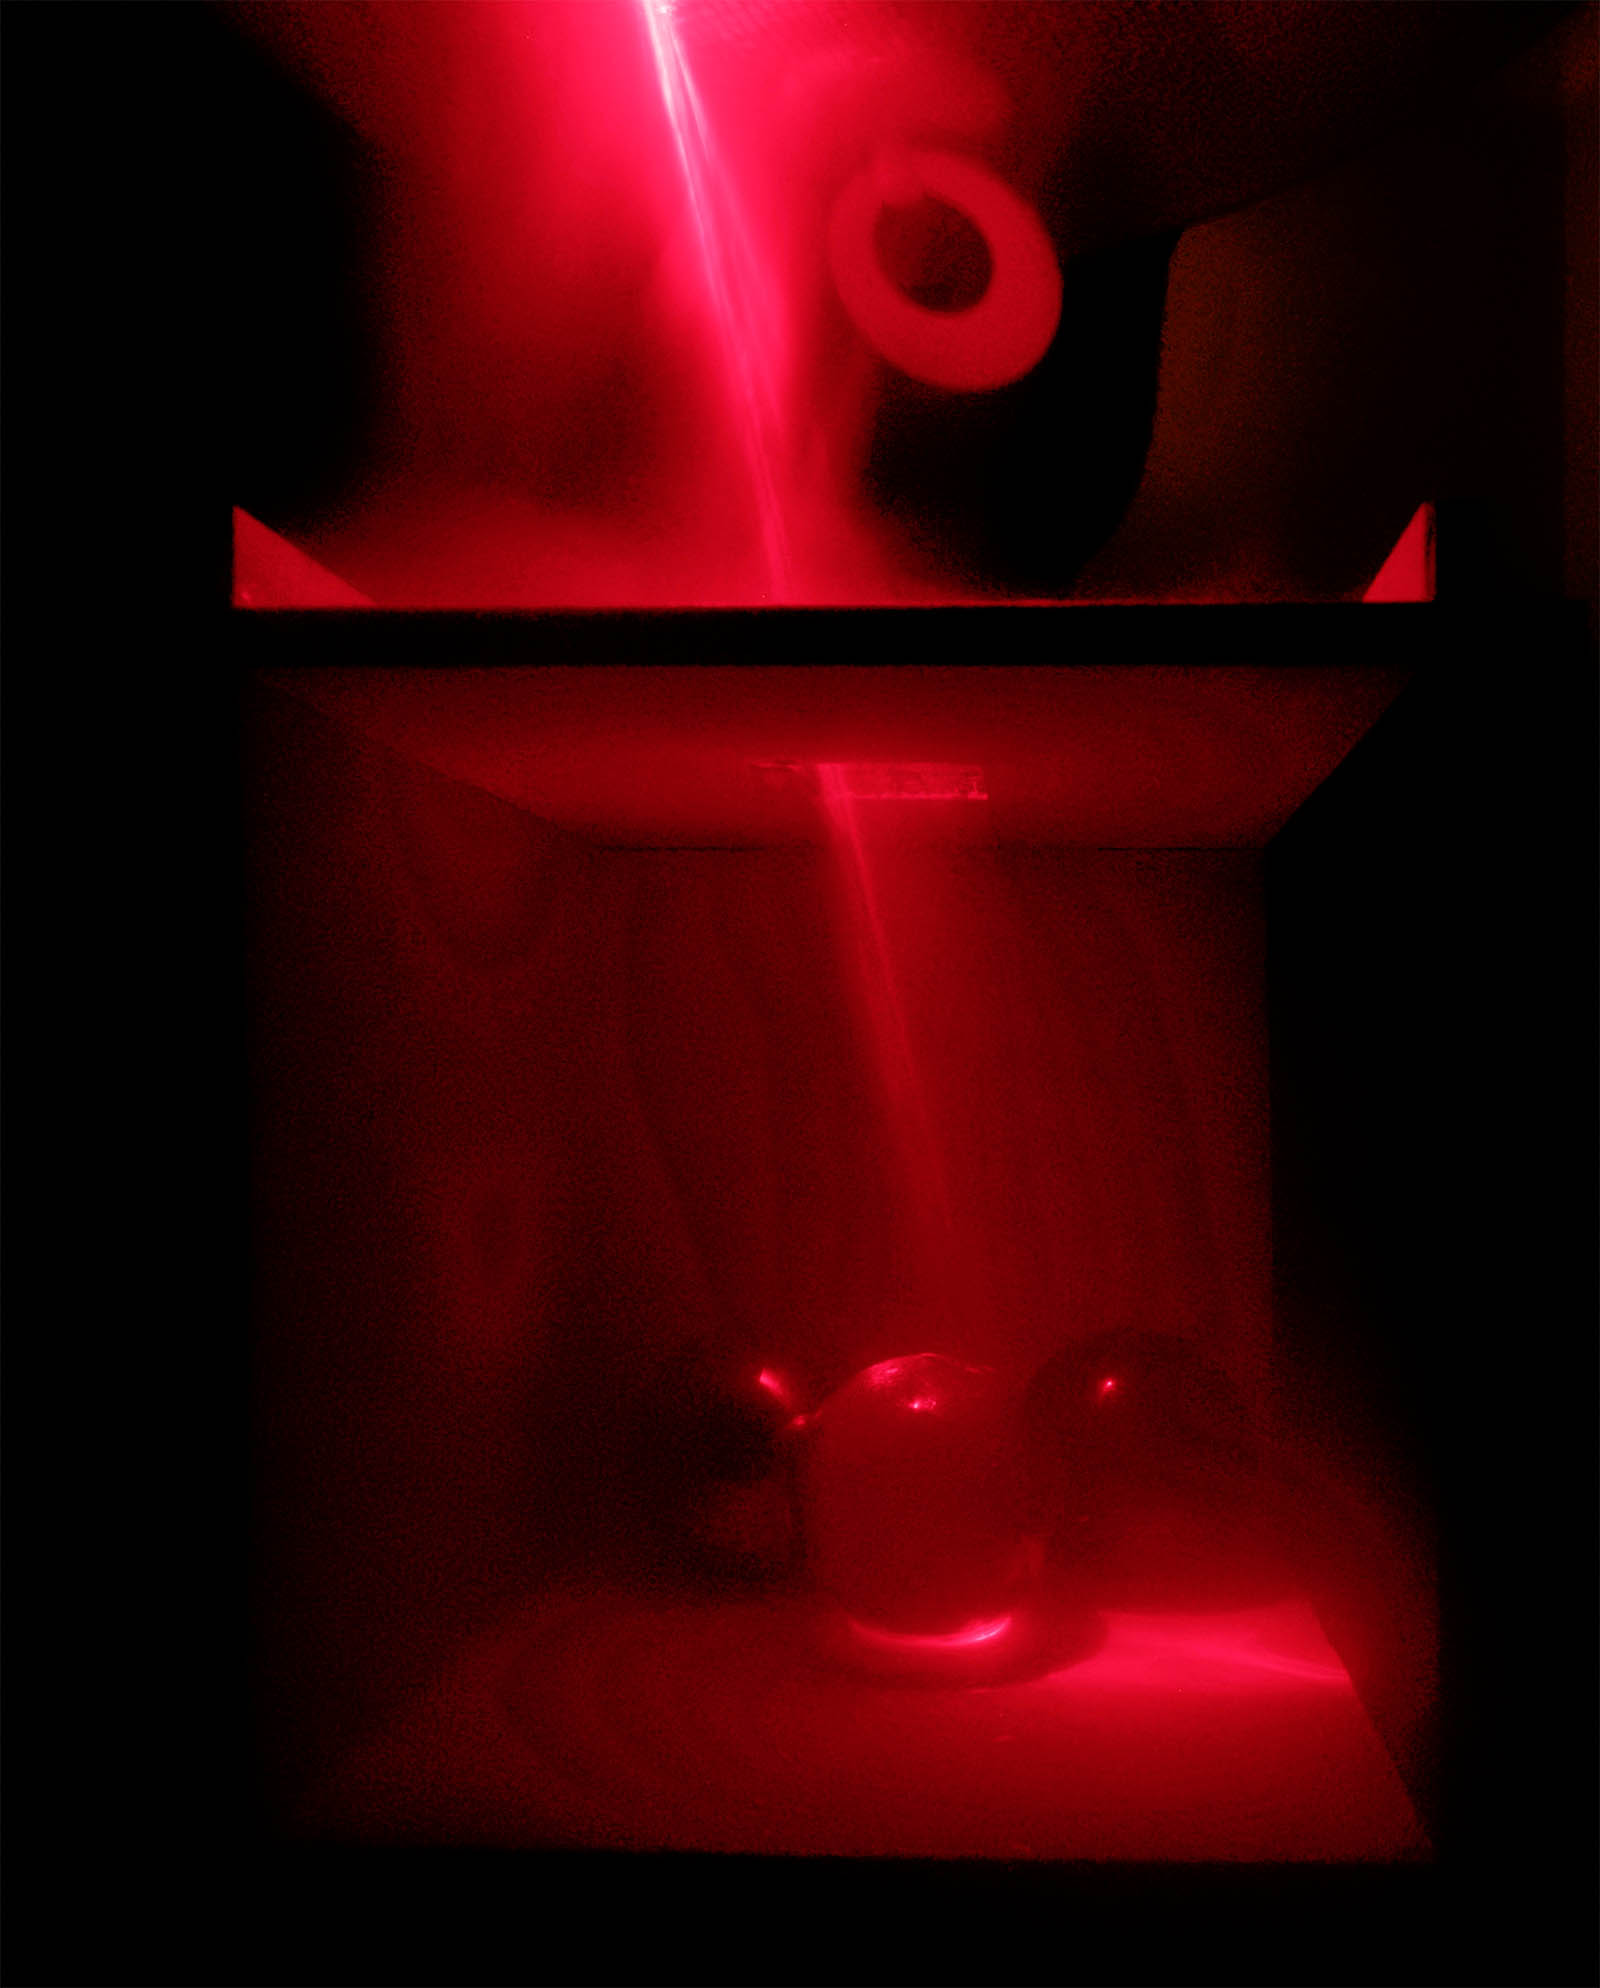
The aforementioned other reason to have a hole in the ceiling is that one can also use lasers to provide a directed light source:
One unfortunate side-effect of using 200mW lasers with shiny targets is that I didn’t dare look into the box to aim, so the effect is a bit random.
One might also be tempted to try to model participating media — for example by buying an ultrasonic mister and holding it over the box, with a cake cover underneath it to try to catch the splashes.
I’m here to tell you that was a massive pain, and if you’re not trying to do this on one of the hottest nights of the year, just boil a kettle near it instead. (I’m not taking responsibility for advocating vaping among the graphics community, however.)
Of course, one might want a useful item on the desk rather than a decorative one. Conveniently, especially if you don’t mind getting marks on the back face, the Cornell Box doubles as a desk tidy (with apologies for my limited amount of stationery with a graphics company theme):
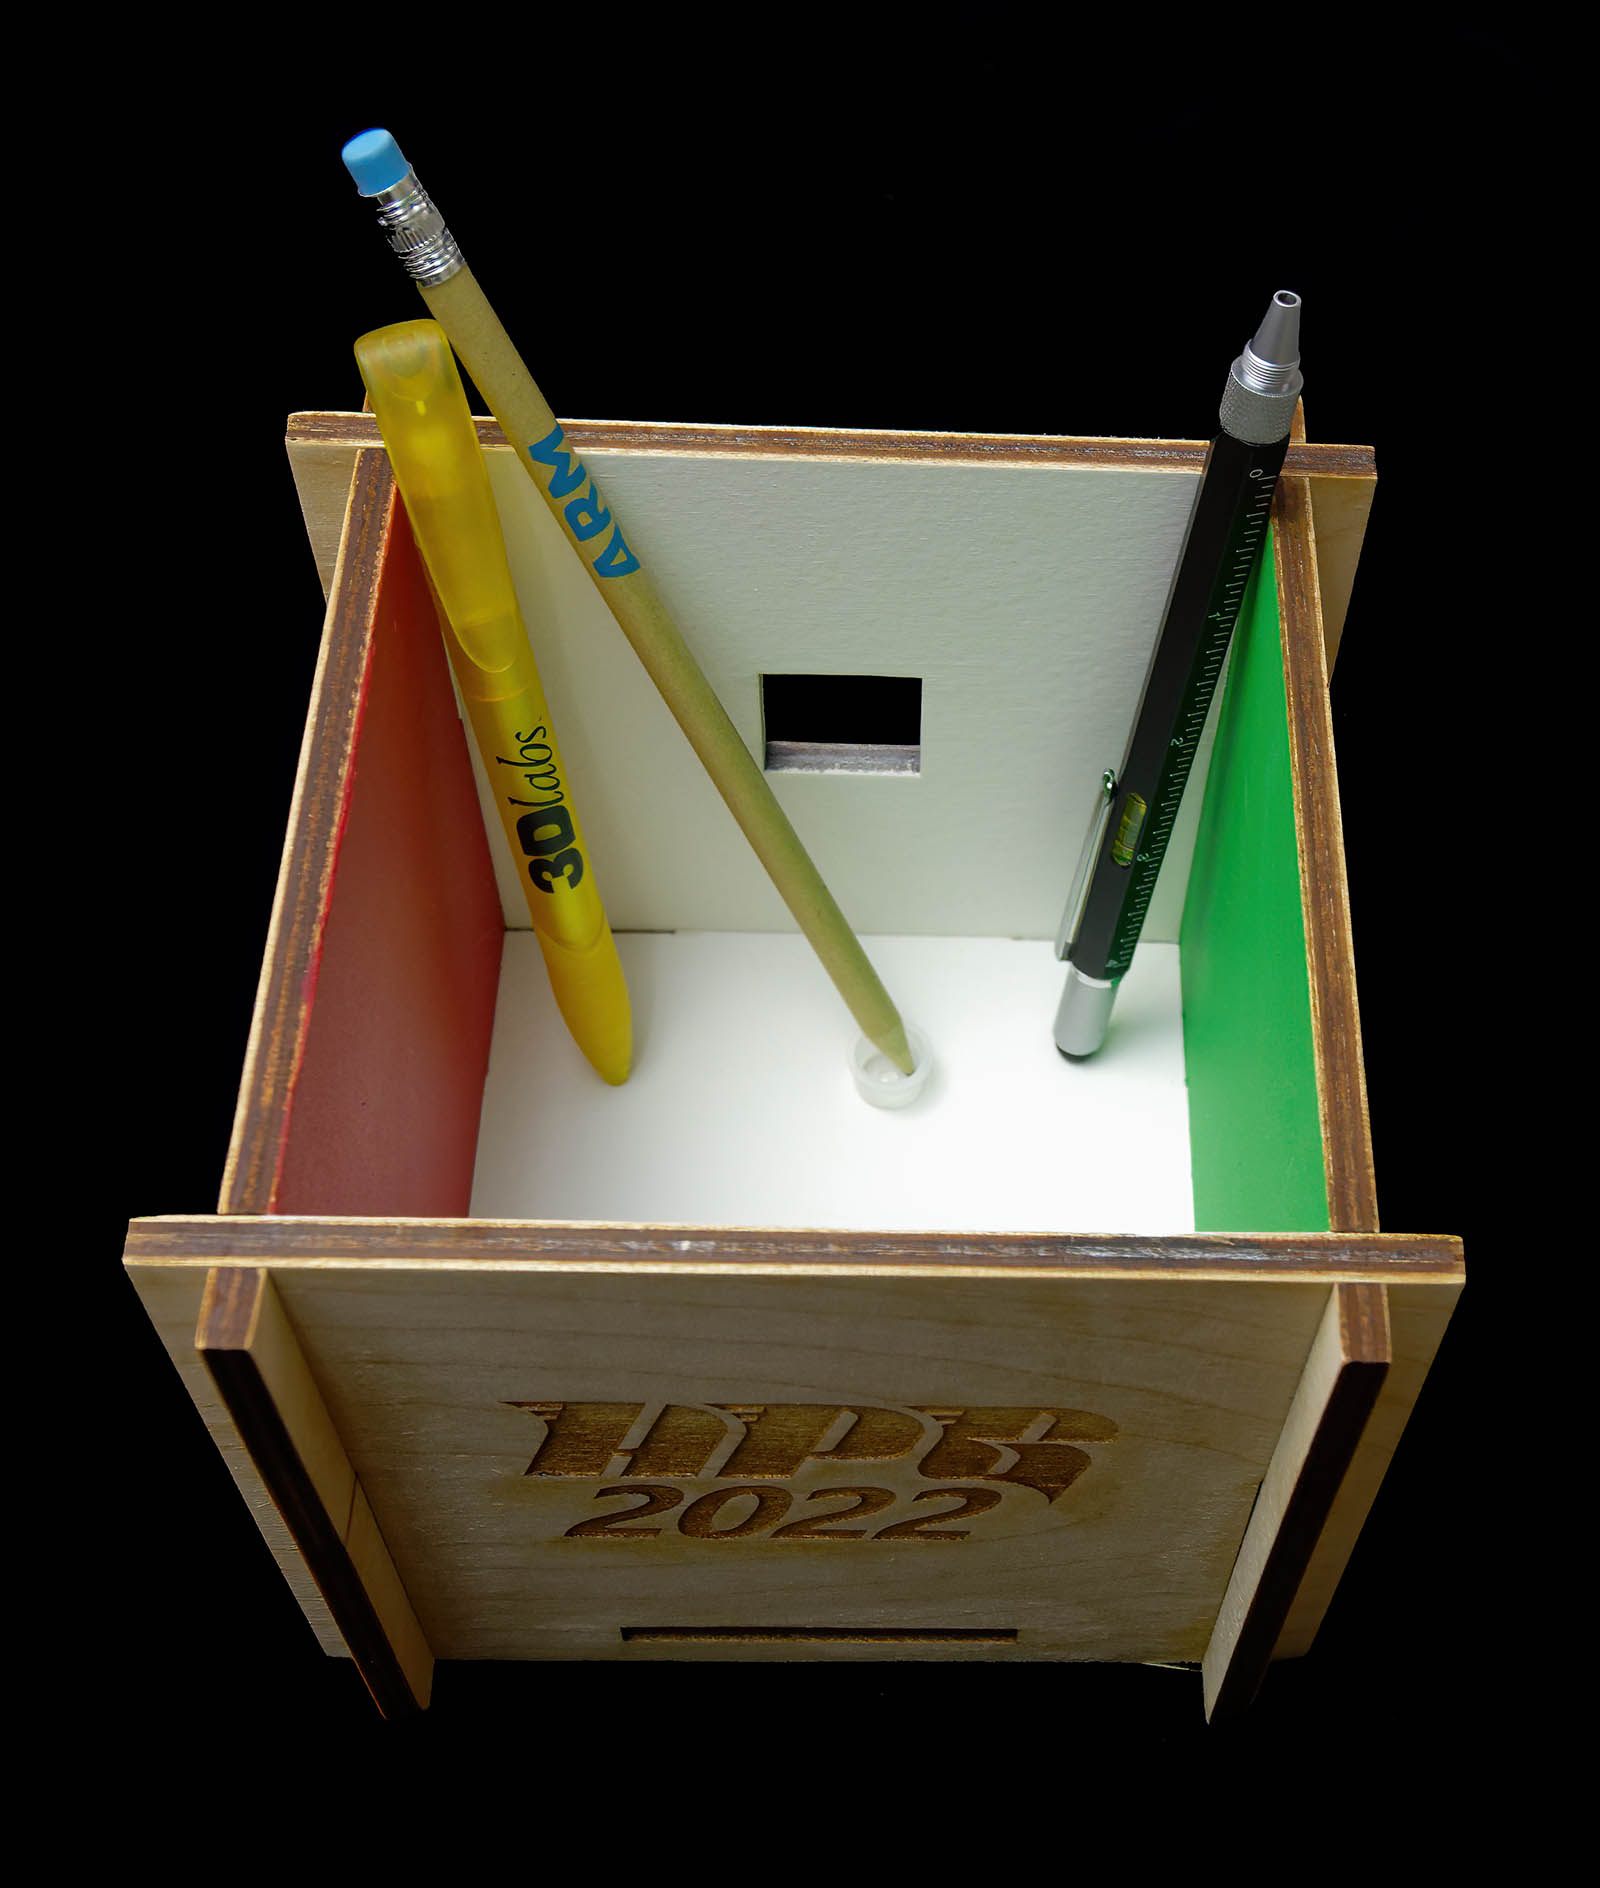
Note: I have found desk tidies to be useful in the modern paperless office as a way to stop tools from falling off bookshelves. It doesn’t work, and I’ve had a stud detector hit me on the head. I didn’t take it as a compliment.
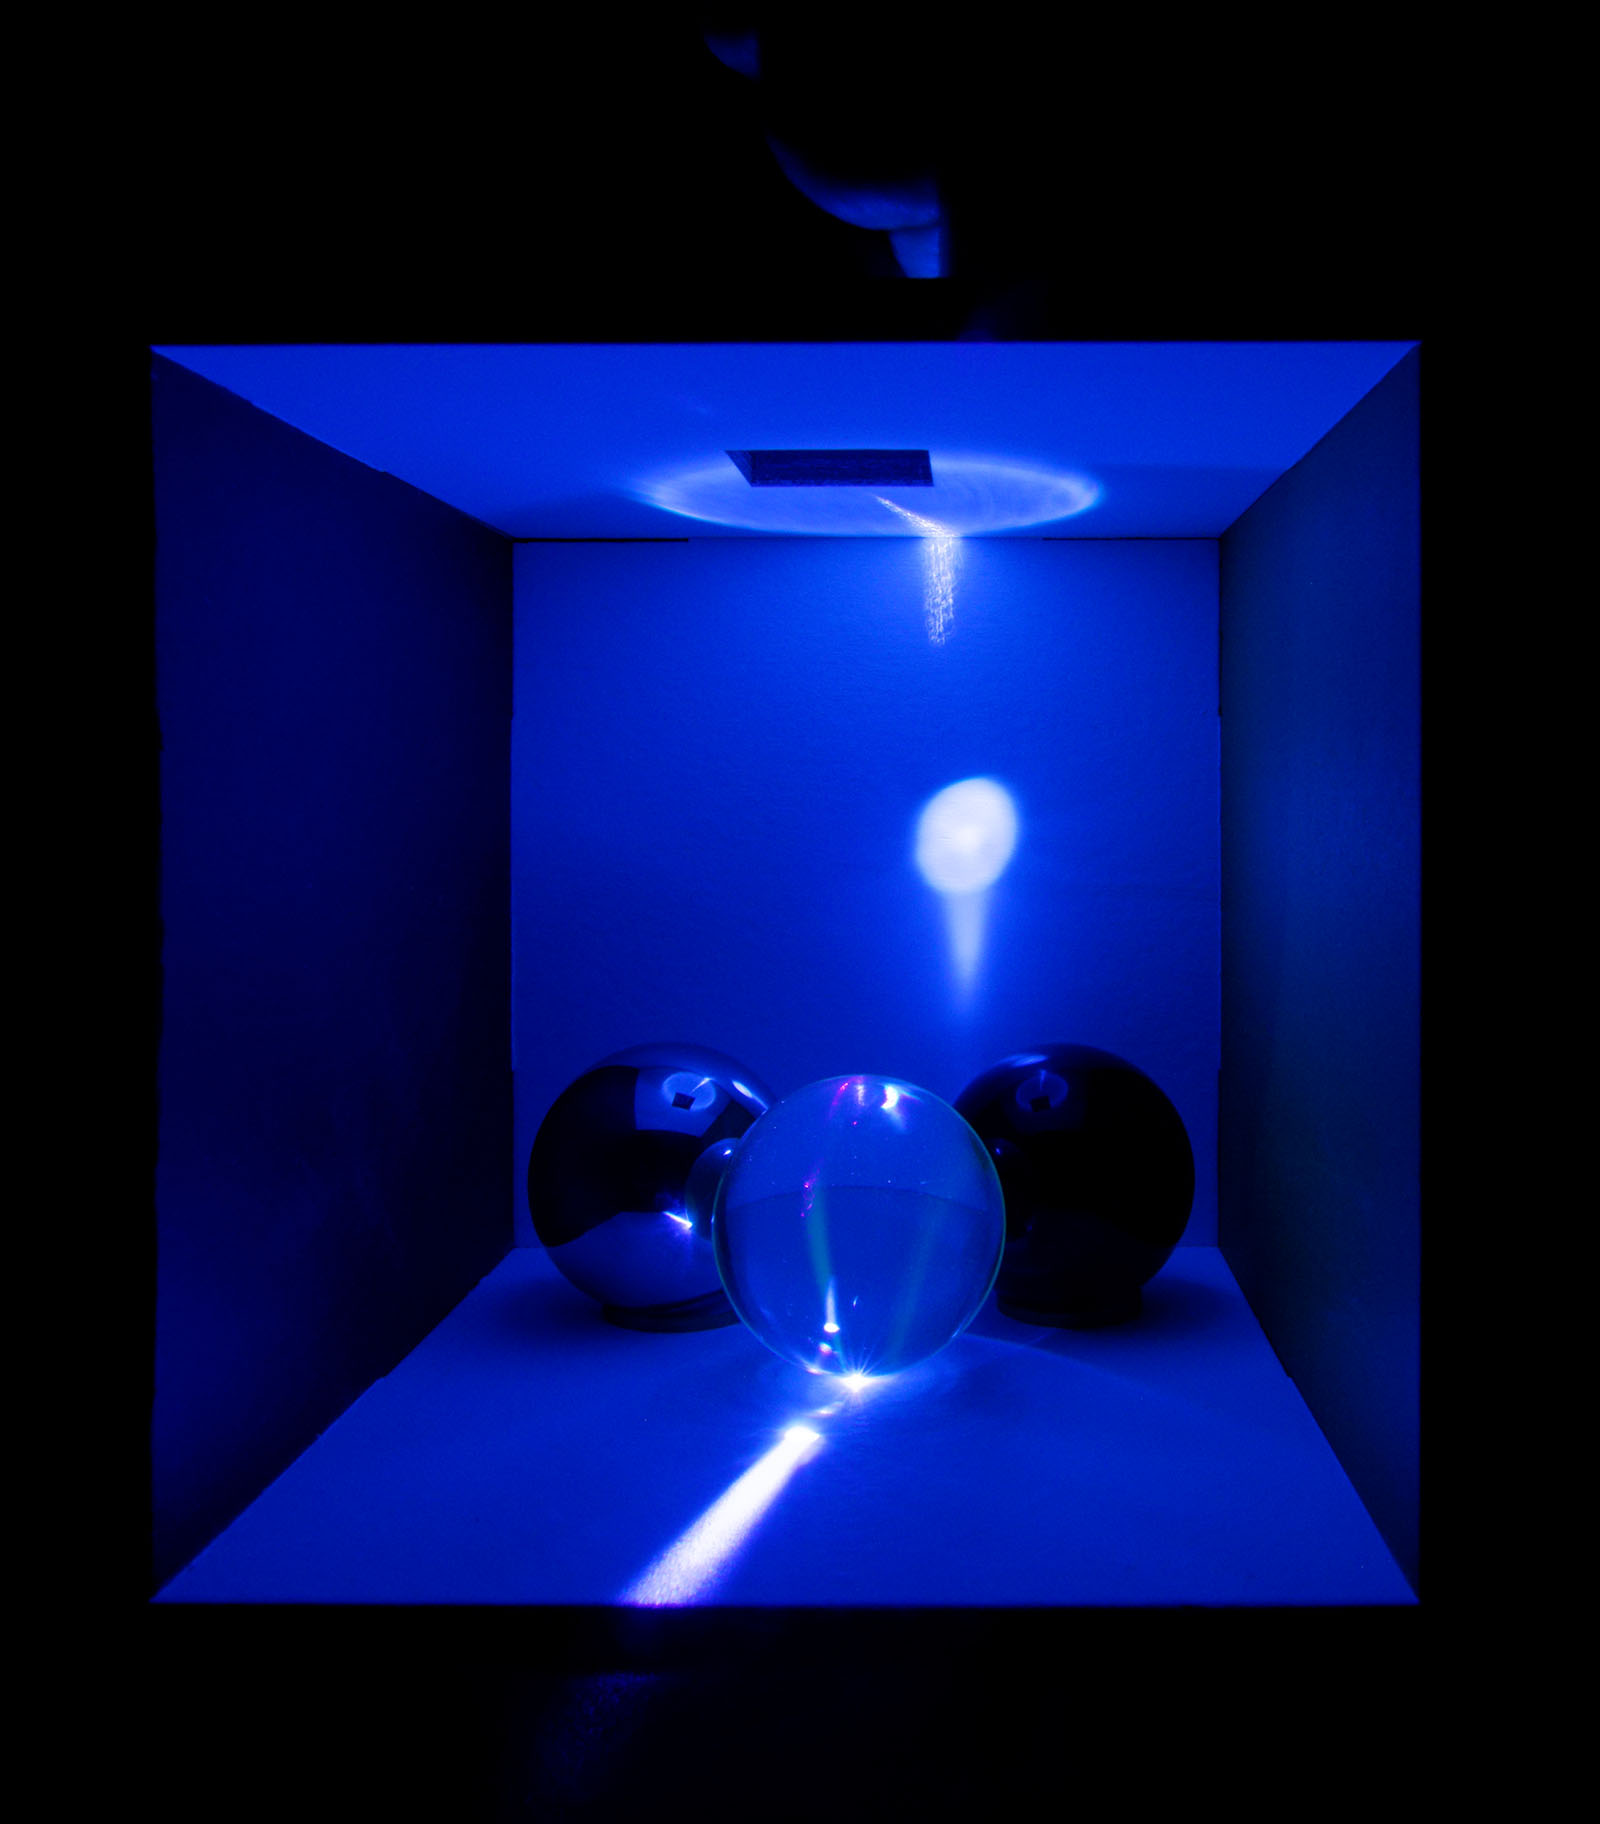
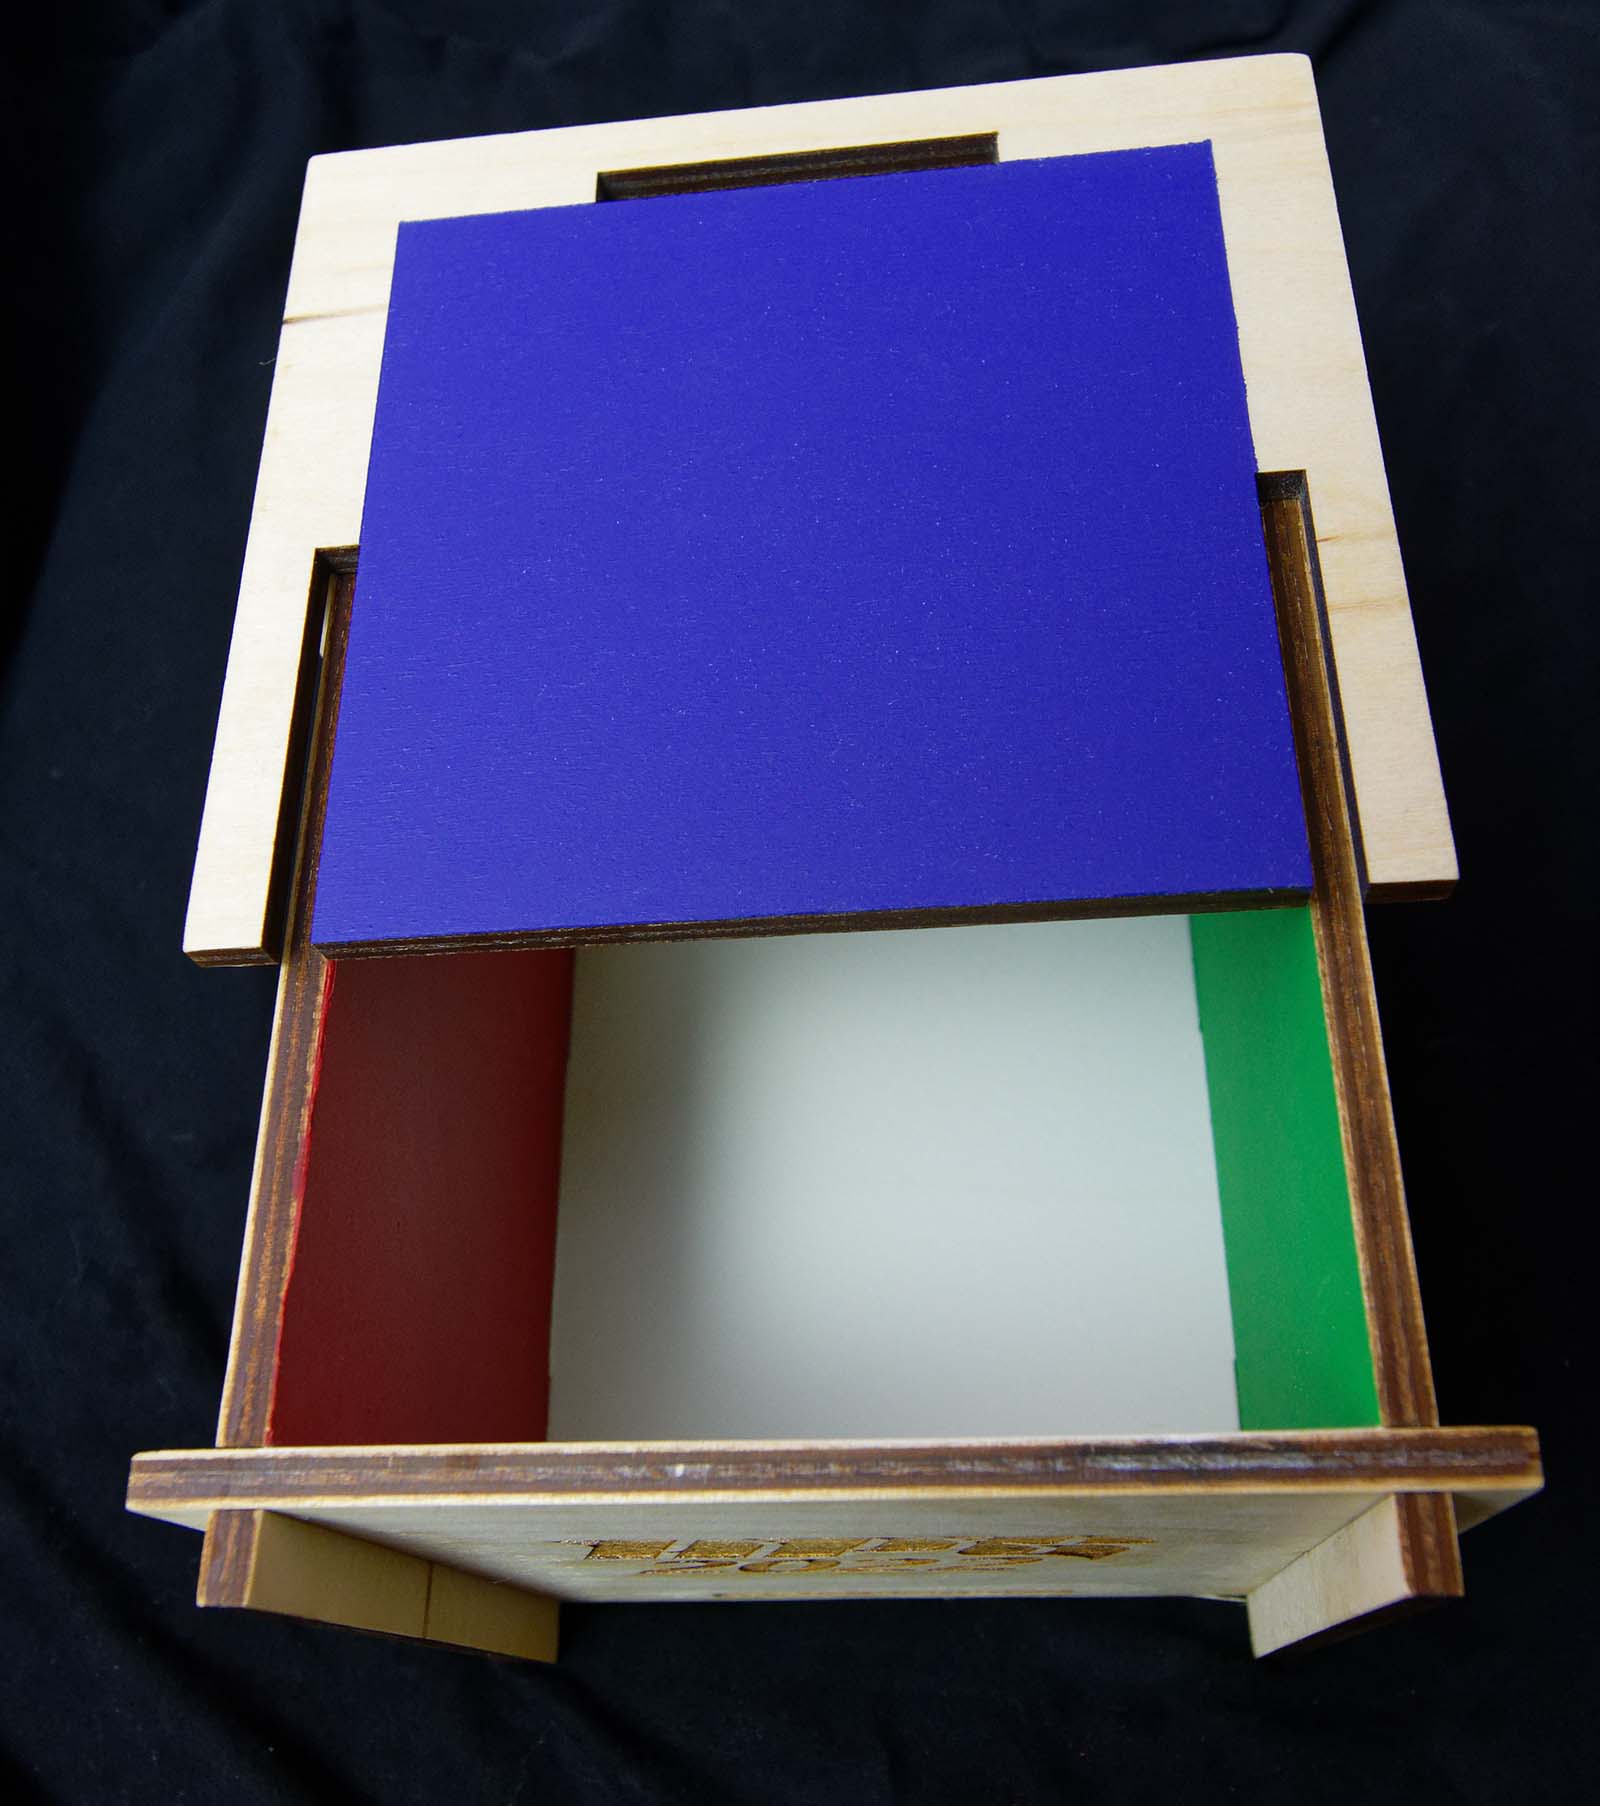
Finally, experts in the history of the Cornell Box may be aware that in some appearances (including the original), the face shown green so far was actually blue. Good news! For the price of a five-face box, you get one extra face free, so you can choose whether you’re prefer blue to green or red.
Assembling (and linking)
Andrew was videoed assembling the Cornell Box during HPG 2022, in case that helps...
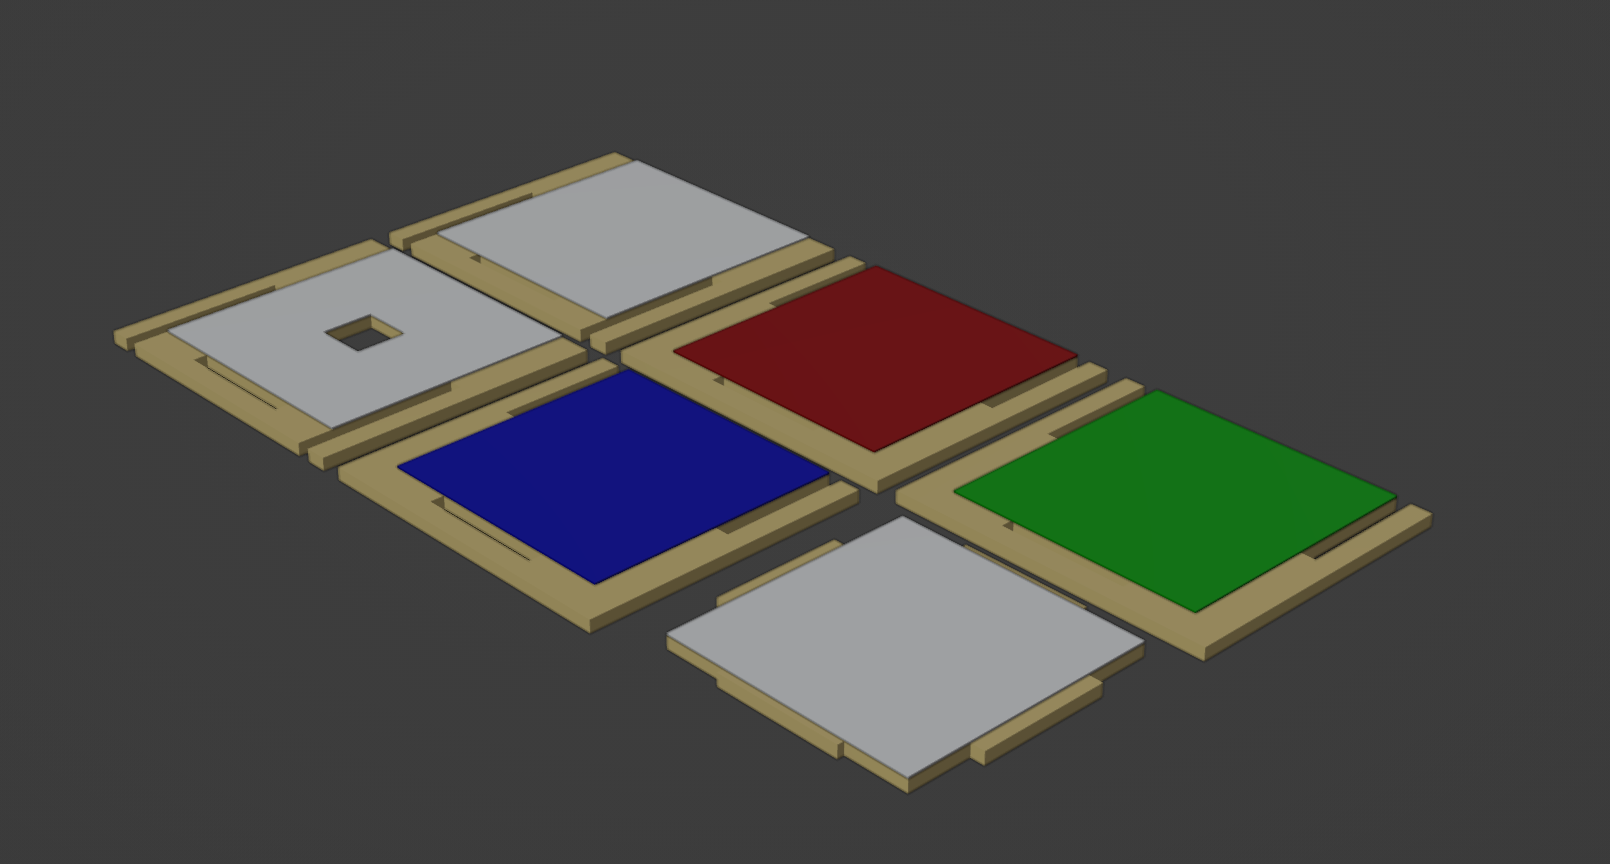
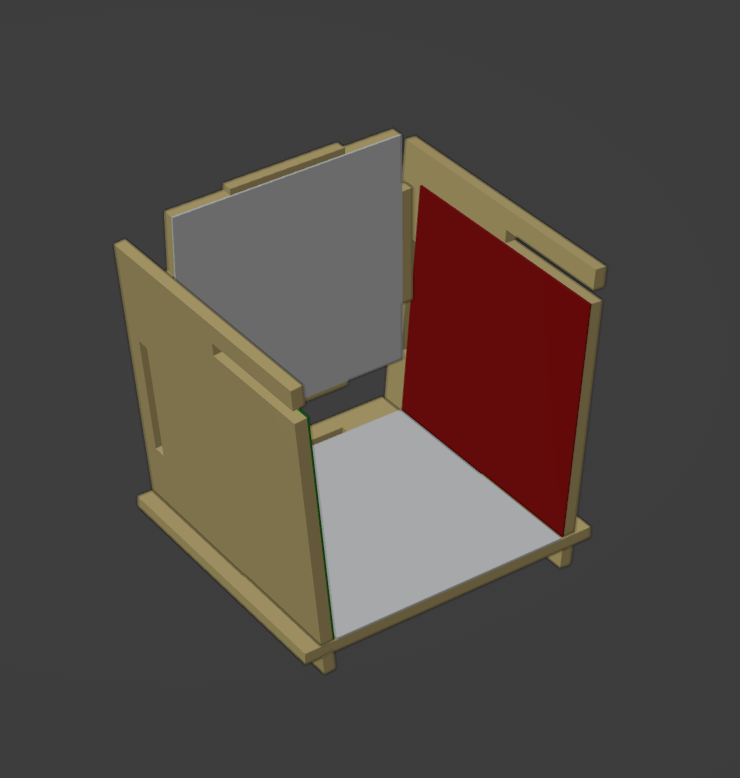
The box ships as a six-piece flat pack:
To assemble your box (for a group of graphics professionals this should not be difficult, so eat your heart out Ikea...):
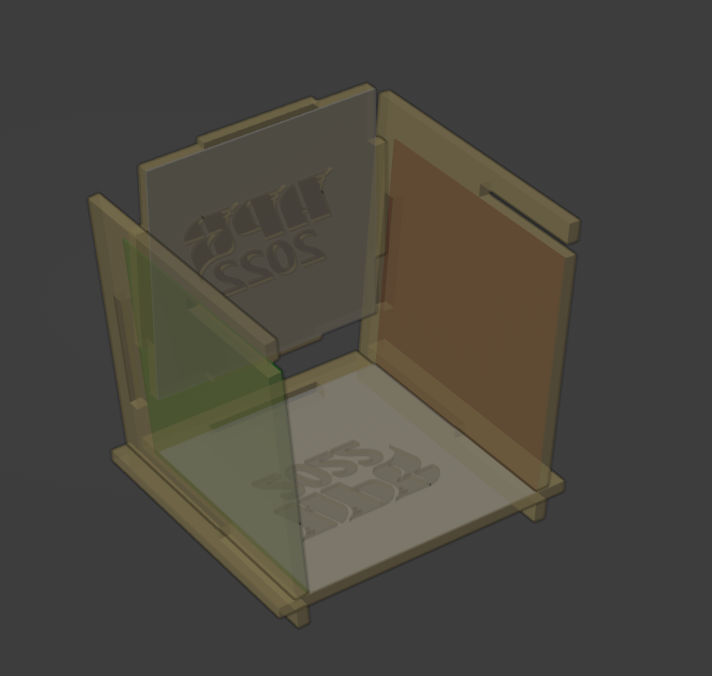
- Find the “floor” and position it with the white face up and logo facing down. (The logo is the right way up if the box is used as a desk tidy.)
- Pick two of the three colored walls, by preference.
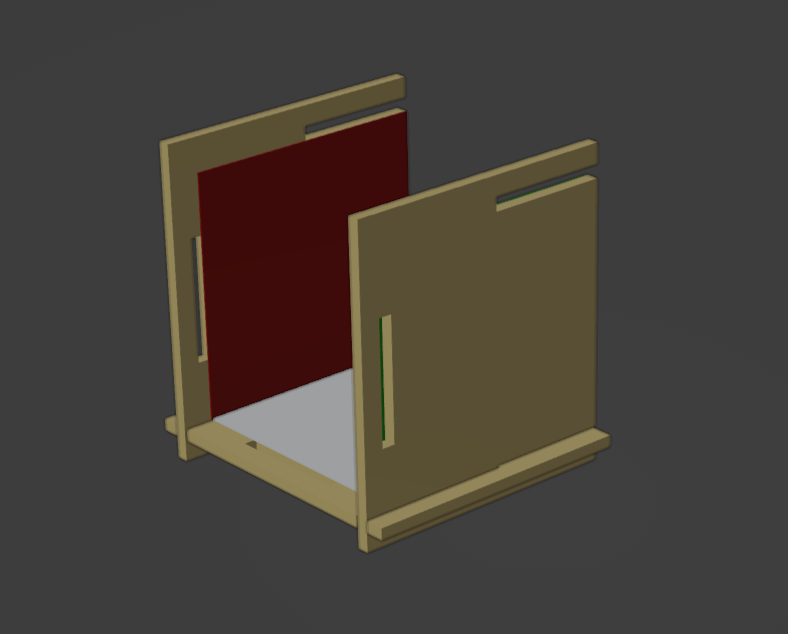
Position them vertically and interlock one long slot of each
with the floor, with the colored surfaces facing each other:
 Push the slots as far together as they go:
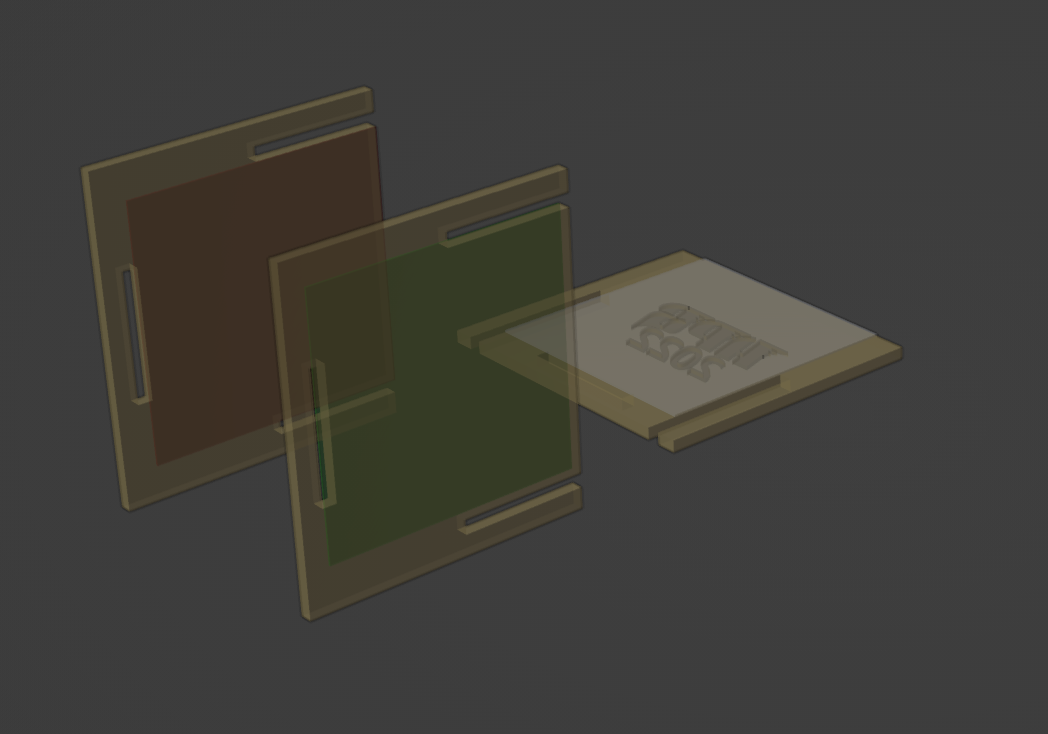
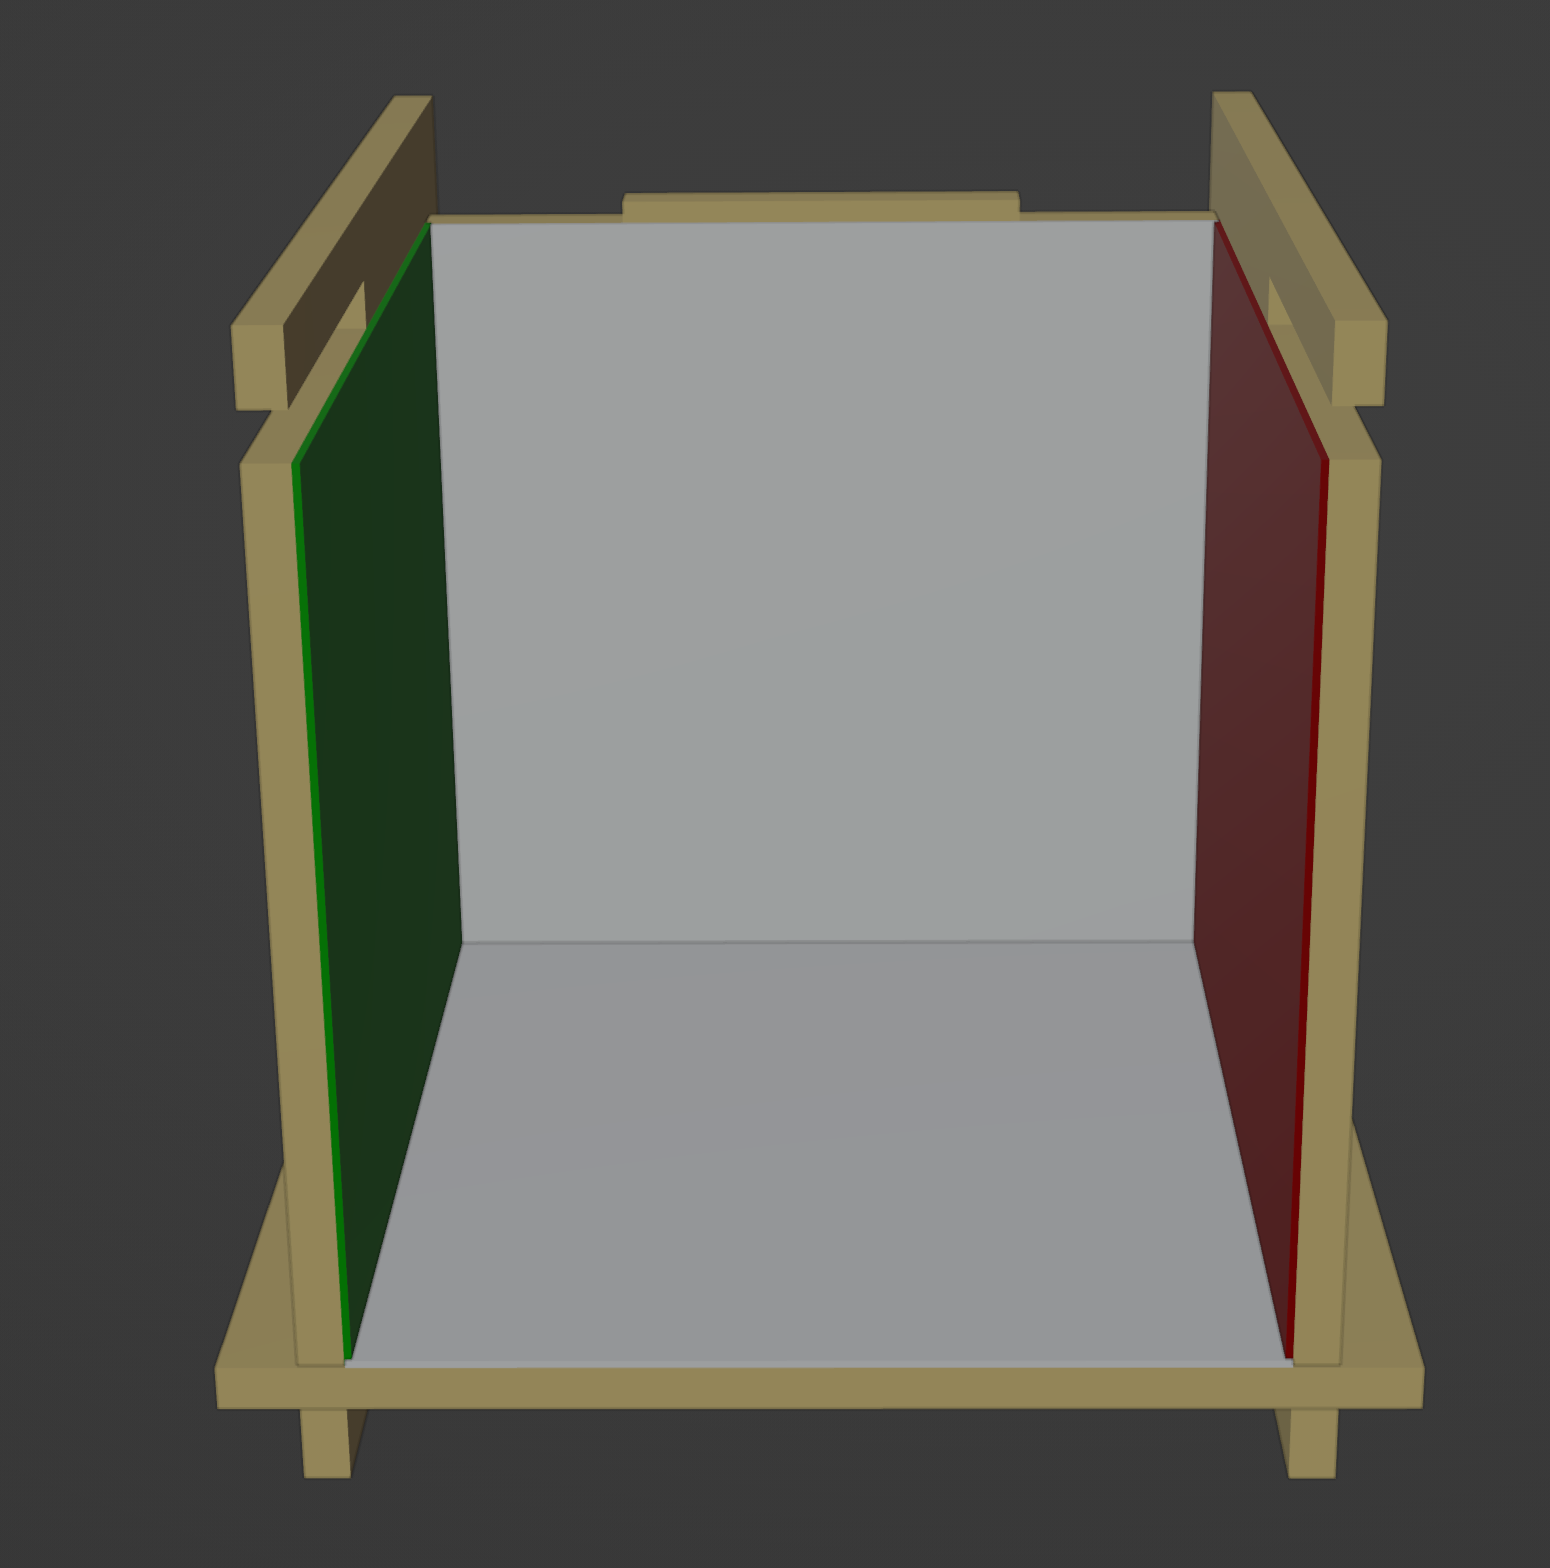
- Tilt the colored walls out slightly, then, with the logo
upright (the longer tabs on the sides) and the white face towards
the inside of the box, slide the back face in from the top.
There should be just enough room for the side tabs to slot into the holes at the back of the faces. When fully inserted, the bottom tab of the back face should fit into the slot in the floor, and it should be possible to push the walls to be vertical, tight against the sides of the back face, with the back face side tabs fully hidden in the slots at the back of the walls.
- Position the ceiling face with the white side facing down
(into the box), and interlock the arms on either side with the
corresponding slots on the colored walls.
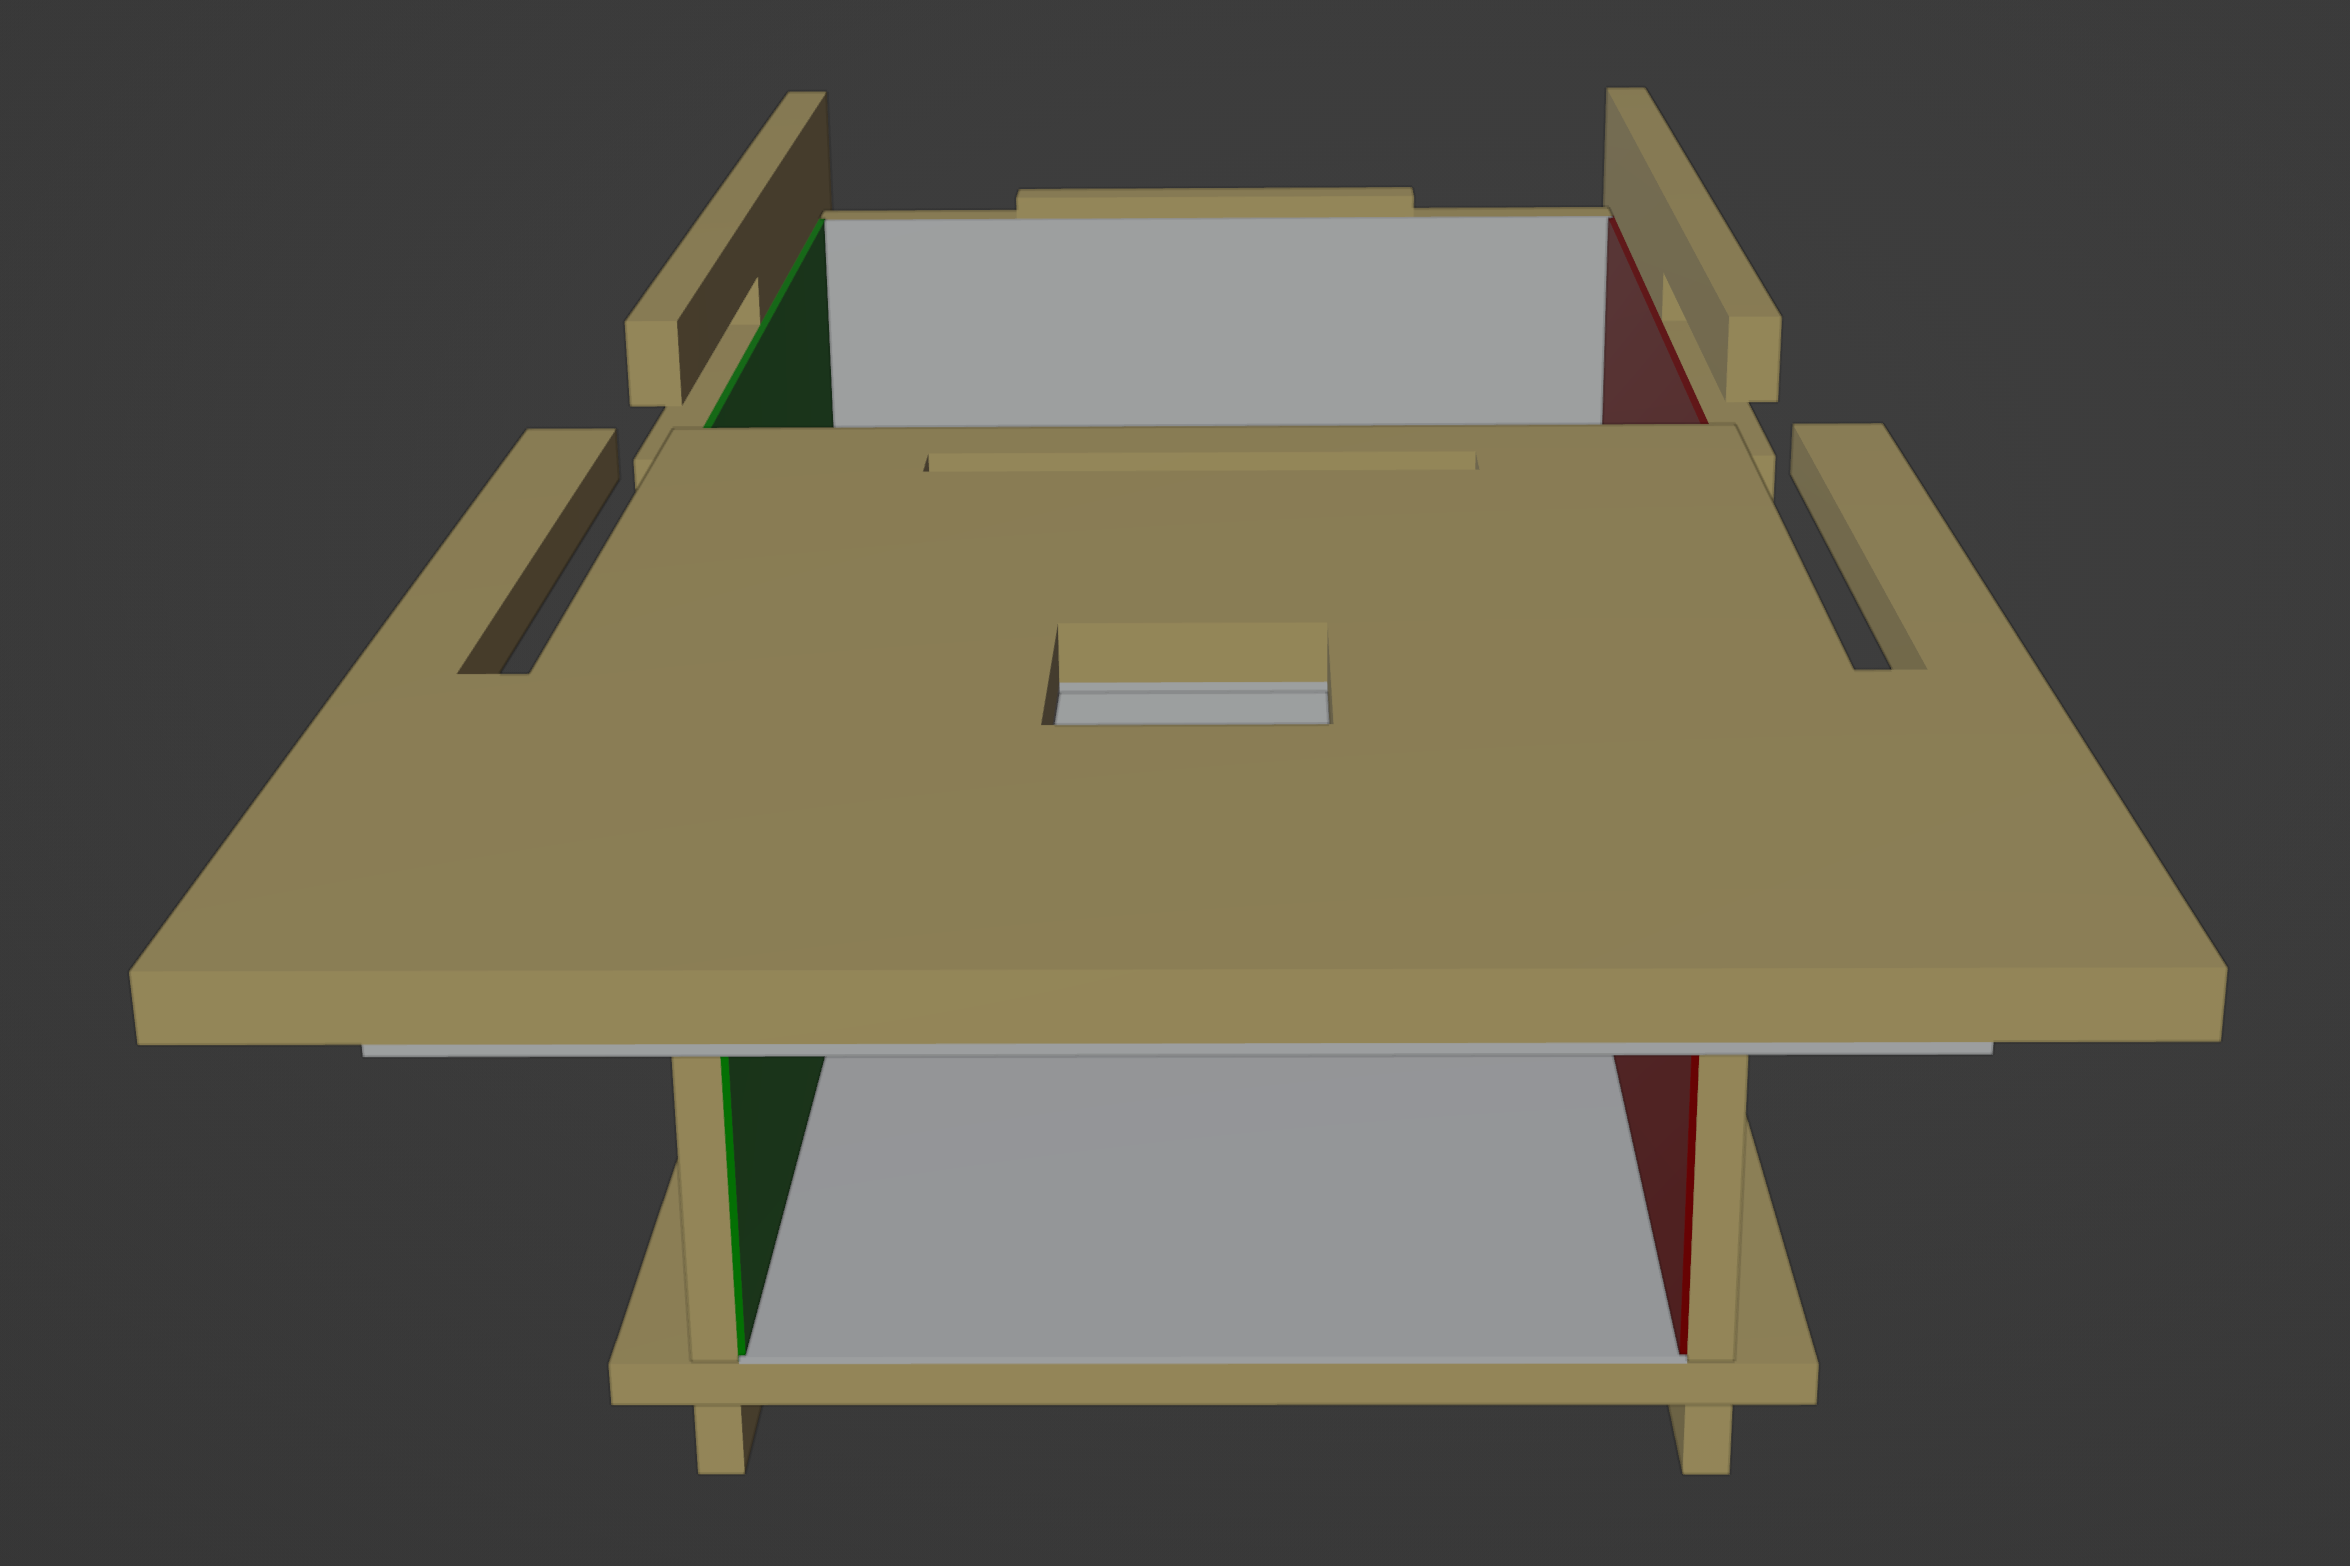
The enclosed slot near the edge of the ceiling tile should be at the back of the box; the face will likely stop when it comes in contact with the short tab at the top of the back face.
- Reaching into the box, push upwards on the corners of the ceiling piece (inside the box). In theory, the light hole should weaken the ceiling to make this easier, but the plywood is still fairly substantial, so some force will be necessary; ideally push in the corners rather than the centre to avoid stressing the thinner cross-piece. Once you’ve lifted the corners enough to clear the tab in the back face, use your third hand and the tolerance in the back face to push the tab under the edge of the ceiling. You might find it helpful to use a screwdriver (or two) to lift the back of the ceiling piece, levering against the back face, but there is some risk of scratching the paint or marking the wood, so this should probably not be the first choice.
- At this point the outward pressure on the ceiling will make
it hard to slide the ceiling into place over the back face.
You can use the rock-hard pecs associated with software
engineers, or whack it with a hammer.
For reasons I’m sure will be unexpected to all, I prefer the
latter.
Ideally use a hammer with a soft covering so as to avoid
marking the wood, and alternate which side you hit in order
to keep it even.
- If you want to change out the colored faces, or simply dismantle the box for travel, you will need to be able to lift the rear of the ceiling enough to get it past the back face upper tab. The good news is that it is easier to grip the upper edges of the walls with the fingers and push the corners of the ceiling up with your thumbs. The bad news is that this doesn’t leave you with a way to push the ceiling towards the front of the case; you’ll likely want to push the base with your third hand to get the tab to wedge under the back fo the ceiling, then whack it with a hammer (on the corners of the inner part of the ceiling) again until it clears the tab — after which it should slide out. Again it may be useful to use a screwdriver or two to lift the end of the ceiling, but it’s easy to mark the wood or scratch paint when doing this. At the time of writing I’ve not broken one yet — 6mm plywood is fairly robust — but good luck.
You may find it looks nice if you wood stain it a bit darker — but it’s a pain to try to do this in bulk, so that has been left as a project for the recipient.
Notes:
- Paint gets everywhere. I have attempted to remove any
splatters that managed to get onto the back of an object
sitting on a flat surface by quantum tunnelling, but did
not always succeed. I had to balance:
- How much I care, out of professional pride.
- How much I thought you’d care how perfect it is.
- How much I care whether you care, because I’m not built for this.
- The process involved the wood sitting in my garden, making the grass weird colors. The process necessarily involved some bugs. You may consider them areas of bonus interest, and an opportunity to apply a denoising algorithm. You are referred to the student competition for ideas (but since the paint is water-based, you might get away with a damp Q-tip; this could go wrong, which is why I didn’t try too hard).
- Boxes manufactured later were sprayed while held in mid air (thereby getting a lot of paint on my hands) and dried indoors on wooden plate drying racks, which reduced the number of insects but unfortunately resulted in some paint running.
- Should you wish to touch up the paint, the colors (in Dulux
terms) were:
- Pure Brilliant White Matt
- Russian Red (99RR 12/469)
- Lush Grass (70GY 22/546)
- Honest Indigo (77BB 07/344)
- You probably won’t get splinters, but if you do, I apologise — and HPG absolves itself of responsibility. It’s wood.
- If you want to make your own boxes:
- Please don’t if you already have a box coming, because we really need to ship out the ones we’ve already made so we can have our houses back. They’re on their way — if you’ve not heard anything and are expecting one, please reach out.
- 2022 was not a good time to try to source maple plywood from Ukraine.
- Don’t underestimate how much of a pain this is.
- Still here? Okay, don’t say I didn’t warn you...
- SVG of the cut shapes
- This version shows the shapes solid for reference.
- SVG of the laser cut lines in red
- This shows all the laser cut lines in the same color (except the engraving, which is black).
- SVG of the laser cut lines in multiple colors
- Exterior cuts are shown in green, interior cuts are blue, the guide ruler is red, engraving in black.
- Generator source code
- C program used to generate the SVG files, which can be modified to allow for different box sizes or manufacturing parameters (such as wood or laser beam thickness) — the above SVG files are for 6mm plywood and a 0.2mm laser.
Physically-based rendering is hard...
Paint, paint covers everything
Hands and faces, walls and floor
Paint, paint covers everything
Now it’s half way up the door
Paint will make your fingers brown
And your nails a funny color
Yes paint, paint covers everything
Matte or varnish, gloss or stain
Nothing here is ever getting clean again
— Andrew Garrard, 2022 Publicity Co-Chair and apparently HPG DIY consultant